

Get In Loser, We're Going Feasting.
A hoard of deliciousness this week with my ultimate Sticky Toffee Crumble Cake plus *bonus* recipes for my take on a Prinsesstårta, Bombay Fondant Potatoes and a Roasted Tomato, Garlic & Feta Dip.


We are drowning in all things delicious this week. My kitchen has never been busier, messier or more chaotic. Strange how despite my new kitchen being vastly bigger than my last, I still manage to make the space somehow feel small, what with the mountains of cake tins precariously stacked on top of each other, discarded failed bakes and rogue scraps of mini recipe tests and developments to ensure what is in my head is actually as delicious as it should be in real life (a real 5050 split, I must admit).
Yes, my kitchen is my sanctuary, my haven, my safe space but my word, it is also the space which occasionally drives me up the damn wall. Just seconds before I cracked open my laptop to start typing this newsletter, I burnt my elbow on a piping hot blowtorch. Hours before that, I dropped a carton of eggs on the floor. Days before that, I failed 3 different recipes of the same cake. The week before that, I dropped a freshly baked sponge on the floor.
 - IMDb")
I love it here in this crazy, chaotic corner I’ve made for myself but there are times which makes me question WHY I love it.
But it’s often in those moments that something truly scrumptious gets made that makes me fall in love with the whole bonkers rollercoaster process all over again. I tend to teeter between immense self-doubt to having an over-inflated sense of ego on the daily. And then serving that all up alongside the constant sugar highs and crashes? THAT is the reason why I don’t film longer form videos. I get asked about this often but who wants to watch 45 minutes of me effing and blinding, dropping things, manically running around the kitchen aimlessly, walking into cupboard doors I swore I shut moments before and me staring into space pondering my existence and every single life choice?
Do you remember when I mentioned a few newsletters back that some people don’t have an internal monologue? I’m not sure if they are the lucky ones or if I am part of the bonkers bunch because a snippet of mine went a little like this today…
“Is it going to be rubbish? Possibly”.
“Will it taste pants? Just chuck some custard on it, it will be fiiiiine. It’s not fine. Chuck it in the fridge and deal with it later”.
“This doesn’t make sense. Will the recipe even work? Of course it will work. I mean, hopefully? Maybe. Possibly? We pray. I pray. MILO PRAY!”.
“What are you doing Rubes? I don’t know. I never know. That’s the magic.”
“I thought you were a cake wizard? Or are you just a greedy guts who likes to eat cake. Both. Most definitely both”.
“Wow, you are brilliant”.
“Never reaching these levels of deliciousness ever again”.
Andddddd…repeat for the rest of my days.
What I am trying to say amongst this ramble is – if you fail at a recipe, if something doesn’t quite go right for you, if you accidentally put salt into your cake instead of sugar, DO NOT STRESS. I’ve done it, I do it, and I will continue to do so.
Baking is like the bad boy in the food world. The more you love it, the more it plays hard to get. The more attention you give it, the less it cares. And let me tell you, after my fair share of bad boys, the stress is never worth it. Enjoy the process, be inventive, be resourceful but never ever give up. Why? Cause the bad boy always comes running back to you. Always.


We are entering the time of year where I start THRIVING. She is feeling cold AF, hot water bottle is glued to my side, my body composition is made up of 56% jumpers and sweatpants and 44% cake but she is feeling ALIVE. We are entering the comfort quarter. The time of year when comfort is king and I am a Queen so it’s obvious that we make an effortlessly perfect pairing.
Talking of all things royal, the first bake on the menu the week is the latest installment from my never-ending ‘Around The World in 80 Cakes’ series (see you all in 2057 for the grand finale?) and is my take on the Swedish classic ‘Prinsesstårta’ aka Princess Cake.
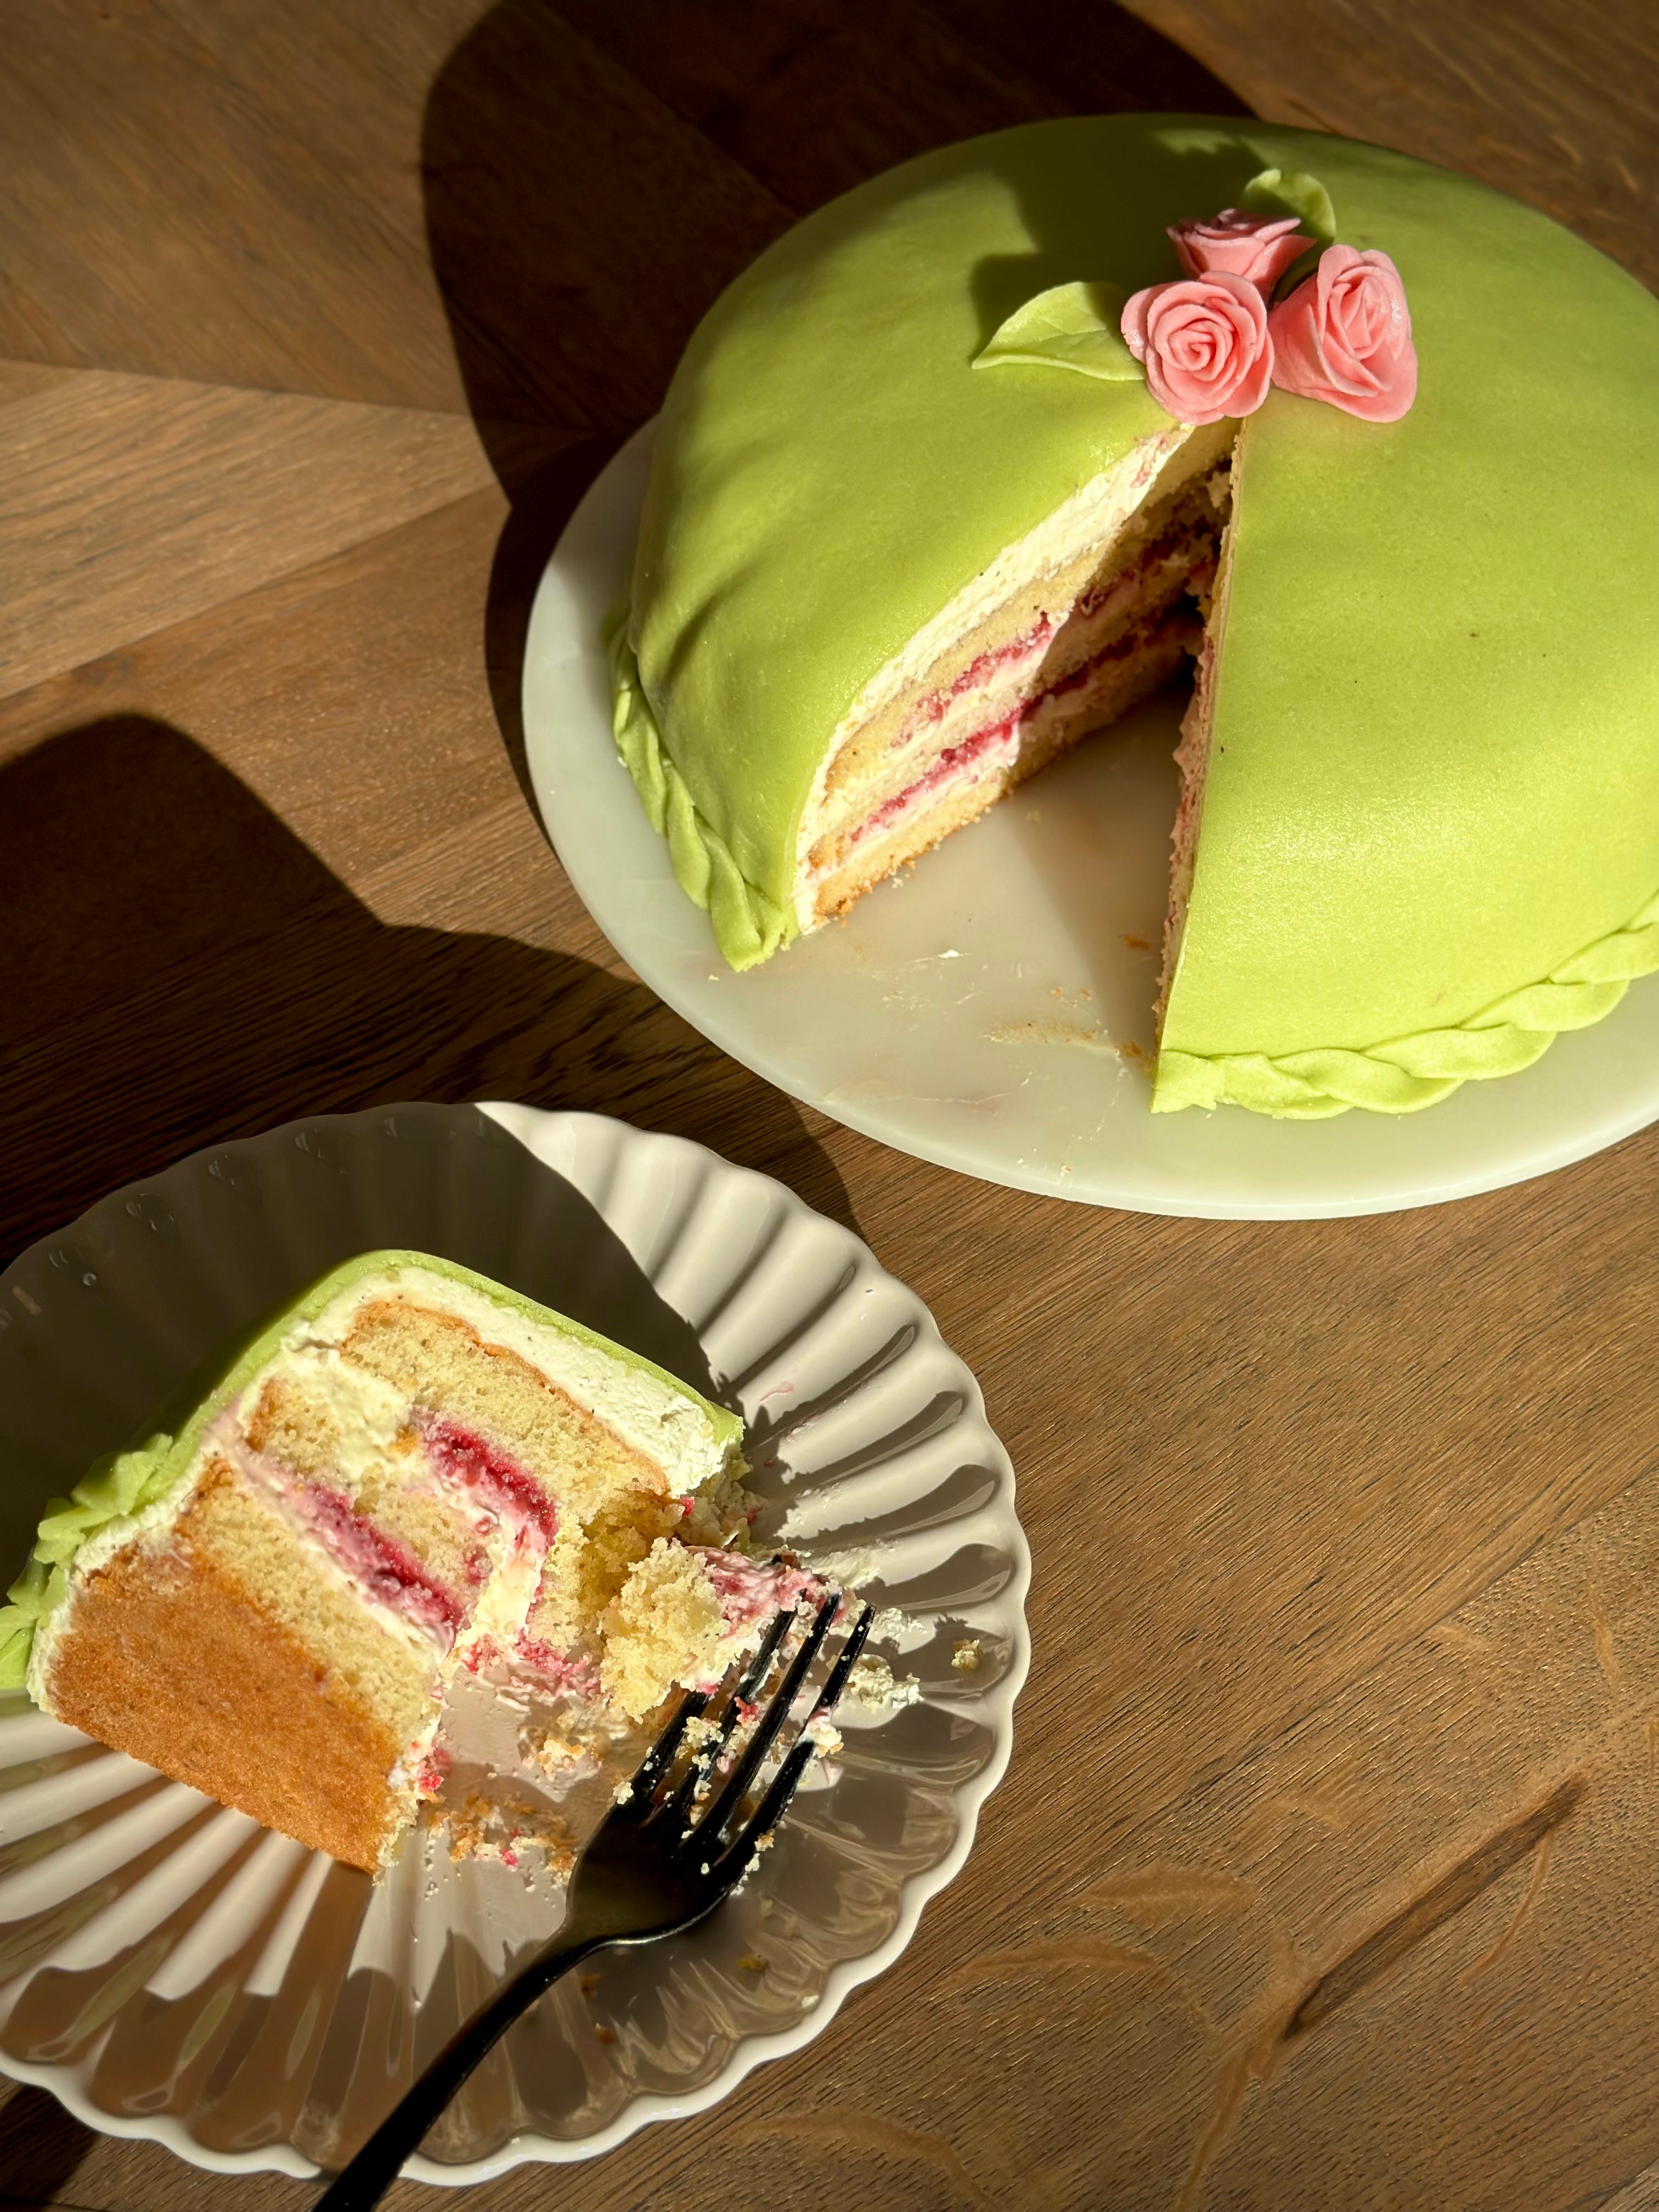
And oh my, what a little princess she was to master indeed. 3 attempts to get it right. THREE. But ya know, I could just tell at the start that she was going to be worth the effort.
Layers of soft, delicate sponge, sandwiched between a vanilla bean pastry cream, raspberry compote and then swaddled in green marzipan. She’s a posher, jazzier, sassier version of the Victoria Sponge. It’s giving the old razzle dazzle, and I am bloody here for it.
Just to reiterate, this is definitely MY version of it and I am in no way trying to pass this off as authentic. I’ve got some tips and tricks on how to nail it and make it easier for you in the ‘Rubes Recommends’ bit so make sure you check that out to avoid any baking breakdowns.
Recipe makes: 1 x 9 inch / 22 cm Sponge
Recipe serves: A LOT. She’s a biggie so be hungry.

W H A T – Y O U – N E E D -
Sponge
100 g Unsalted Butter, room temp
40 ml Oil (neutral tasting, eg Veg)
200 g Caster Sugar
4 Large Eggs, plus 1 Yolk
140 g Potato Starch, sifted (you can sub for cornflour)
140 g 00 Flour, sifted (you can sub for Plain or AP)
1 tbsp Baking Powder, sifted
1 tsp Vanilla Bean Paste
Filling: Custard
500 ml Whole Milk
1 tsp Vanilla Bean Paste
6 Large Eggs, yolks only
100 g Caster Sugar
20 g Plain Flour, sifted
20 g Cornflour, sifted
250 ml Double Cream, fridge temp
Filling: Raspberry
350 g Frozen Raspberries
15 g Caster Sugar
1 tbsp Cornflour, sifted
Crumb Coat & Mound:
100 g Mascarpone, fridge temp
25 g Icing Sugar
½ tsp Vanilla Bean Paste
300 ml Double Cream, fridge temp
To Finish
Approx. 750 g Marzipan
Green Food Colouring
Pink Food Colouring
M E T H O D -
Preheat the oven to 150C Fan/170C/300 F/Gas Mark 4 and grease and line 1 x 9 inch / 22 cm cake tin with a removeable base.
Cream together the butter, oil, and sugar in a stand mixer, using the paddle attachment. If you don’t have a stand mixer, use an electric hand whisk - but for the love of god, please don’t attempt this without either because it will be EXHAUSTING.
Once the base is light, creamy, and fluffy (will take about 5 minutes at least), add the eggs (plus additional yolk) in one by one, beating well between each addition. You want to work in as much air between each and ensure the mix is emulsified before adding to it.
In a separate bowl, mix the potato starch, ‘00’ flour and baking powder. By doing this before adding to the butter mix will help you to not overmix the batter.
Add the flour mix plus the vanilla bean paste to the mixer bowl and mix low and slow until there are no visible flour streaks. Try to keep this light as possible to guarantee a soft, light sponge.
Transfer the batter to the lined tin and bake for 35 to 38 minutes. The top should be golden brown and bouncy to touch – if the cake still has a wobble (is your oven ok?) then bake for a further 5 and recheck.
Remove the cake from the oven and leave it to sit in the tin for 10 minutes before turning out onto a sheet of clingfilm/saran wrap and covering completely. Remember: cake sweat is the good sorta sweat, we want to keep that locked into the sponge. Leave to cool completely.
In the meantime, prep the custard by adding the milk and vanilla to a saucepan and bringing to a near boil.
Whilst it is warming up, add the yolks, caster sugar and both flours to a bowl and use a balloon whisk to mix vigorously. You want this to go from clumpy to bitty to smooth (will take a few minutes to achieve).
Once the milk is near boiling, pour 1/3 into the yolk bowl and mix immediately until smooth. Transfer back into the saucepan and stir until thickened. You want to take this beyond runny custard consistency and more to a dollop consistency – ya know? BUT DON’T take your eyes off this. Pastry cream has a habit of catching on the base the minute you take your eyes off it.
Place the cream into a bowl to cool down and cover with some clingfilm or baking paper to avoid the top forming a skin.
Make the compote by adding the raspberries and sugar to a saucepan. Place over a medium heat and gently cook for about 10 minutes, until the raspberries have broken down and released some juice.
Sprinkle in the cornflour, give it all a good mix and continue cooking for a further 2 to 3 minutes until the raspberries have thickened in consistency slightly. Remove from the heat and leave to cool.
Once the sponge is cool, use a serrated knife to carefully cut the sponge into 3. Everyone has a method on how to do this – the easiest way I find is to lightly score the edges all the way round before committing. Sometimes it works, sometimes it’s wonky, every time it is still delicious so don’t stress it.
Before using the cooled pastry cream, pour in the 250 ml double cream and whisk until thickened to a medium to stiff peak. If it is super loose, pour in more double cream to reinforce.
Place one of the sponges onto your serving plate. Dollop 1/3 of the whipped pastry cream on top and use the back of a spoon or offset palette knife to evenly spread out.
Add ½ of the cooled raspberry mix on top and carefully spread out – I spoon the compote all over the top before carefully using a palette knife to spread.
Place another layer of sponge on top and repeat the cream and fruit process.
Add the last layer of sponge on top and use the remaining whipped pastry cream to crumb coat, filling in any gaps on the sides. Getting a nice even layer here on the sides really helps for a smooth finish at the end. Place the cake in the fridge to set for 30 minutes.
In the meantime, make the cream for the mound on top by adding all the ingredients to a bowl and mixing till you hit medium peak. You want this more on the stiffer than looser side to help hold the marzipan so work it to the point it is still spreadable but sturdy.
Transfer ¾ of the cream on top of the cake and shape into a mound/hill using a palette knife. Use the remaining ¼ to cover the sides. Any major disasters here, reeeelax, it’s all going to get covered up anyway. Pop in the fridge to set.
For the marzipan, break off an inch or so and leave to one side. For the rest, break into 3 pieces and add a drop or two of green colouring and begin kneading that in. It will take a while, but it will eventually turn green, I promise. An easier alternative would be buying green marzipan (duh).
Colour the remaining marzipan with pink for the roses (or just buy pre-made flower decorations from the supermarket for ease?).
Generously sprinkle icing sugar onto your worktop or silicon mats (the latter saves you on the clean-up) and combine all the green marzipan together before rolling out to a circular shape approx. 2mm thick.
Carefully transfer on top of your set cake and begin to smooth down the top, before working the sides. Be patient here as the marzipan will tear. I used a cake scraper to help smooth down my sides and for a tight finish at the base.
Make the roses out of the pink marzipan, if you are making them and place them on top.
Pop the cake in the fridge to set (the more days, the better).


If you are ever invited round to dinner at mine, please know that I have 3 key requirements which you must satisfy before you can pass through the door.
Be in comfy clothes. None of this stuffy business. I want you in your cosies, preferably wearing something with an elasticated waistband and something you feel at home in. Come in a onesie for all I care. As long as your attire allows you to eat freely, with zero restriction, then we are good.
Come hungry. None of this I just ate not long ago business. If I hear you are on a diet, I will try to respect that but I make no promises I won’t give you that look the minute you decide to break it. That look being a look full of glee and smugness, obvi.
You better have no plans after. None of this, I can’t stay for long business. When you are coming round, we are feasting. And then probably having a carb induced group nap straight after on the sofa, before waking up and picking at leftovers.
Food is one of the ultimate privileges in life and one that I don’t for a second take for granted. It’s a celebration, it’s an experience, it’s a memory and hopefully it is bloody delicious.
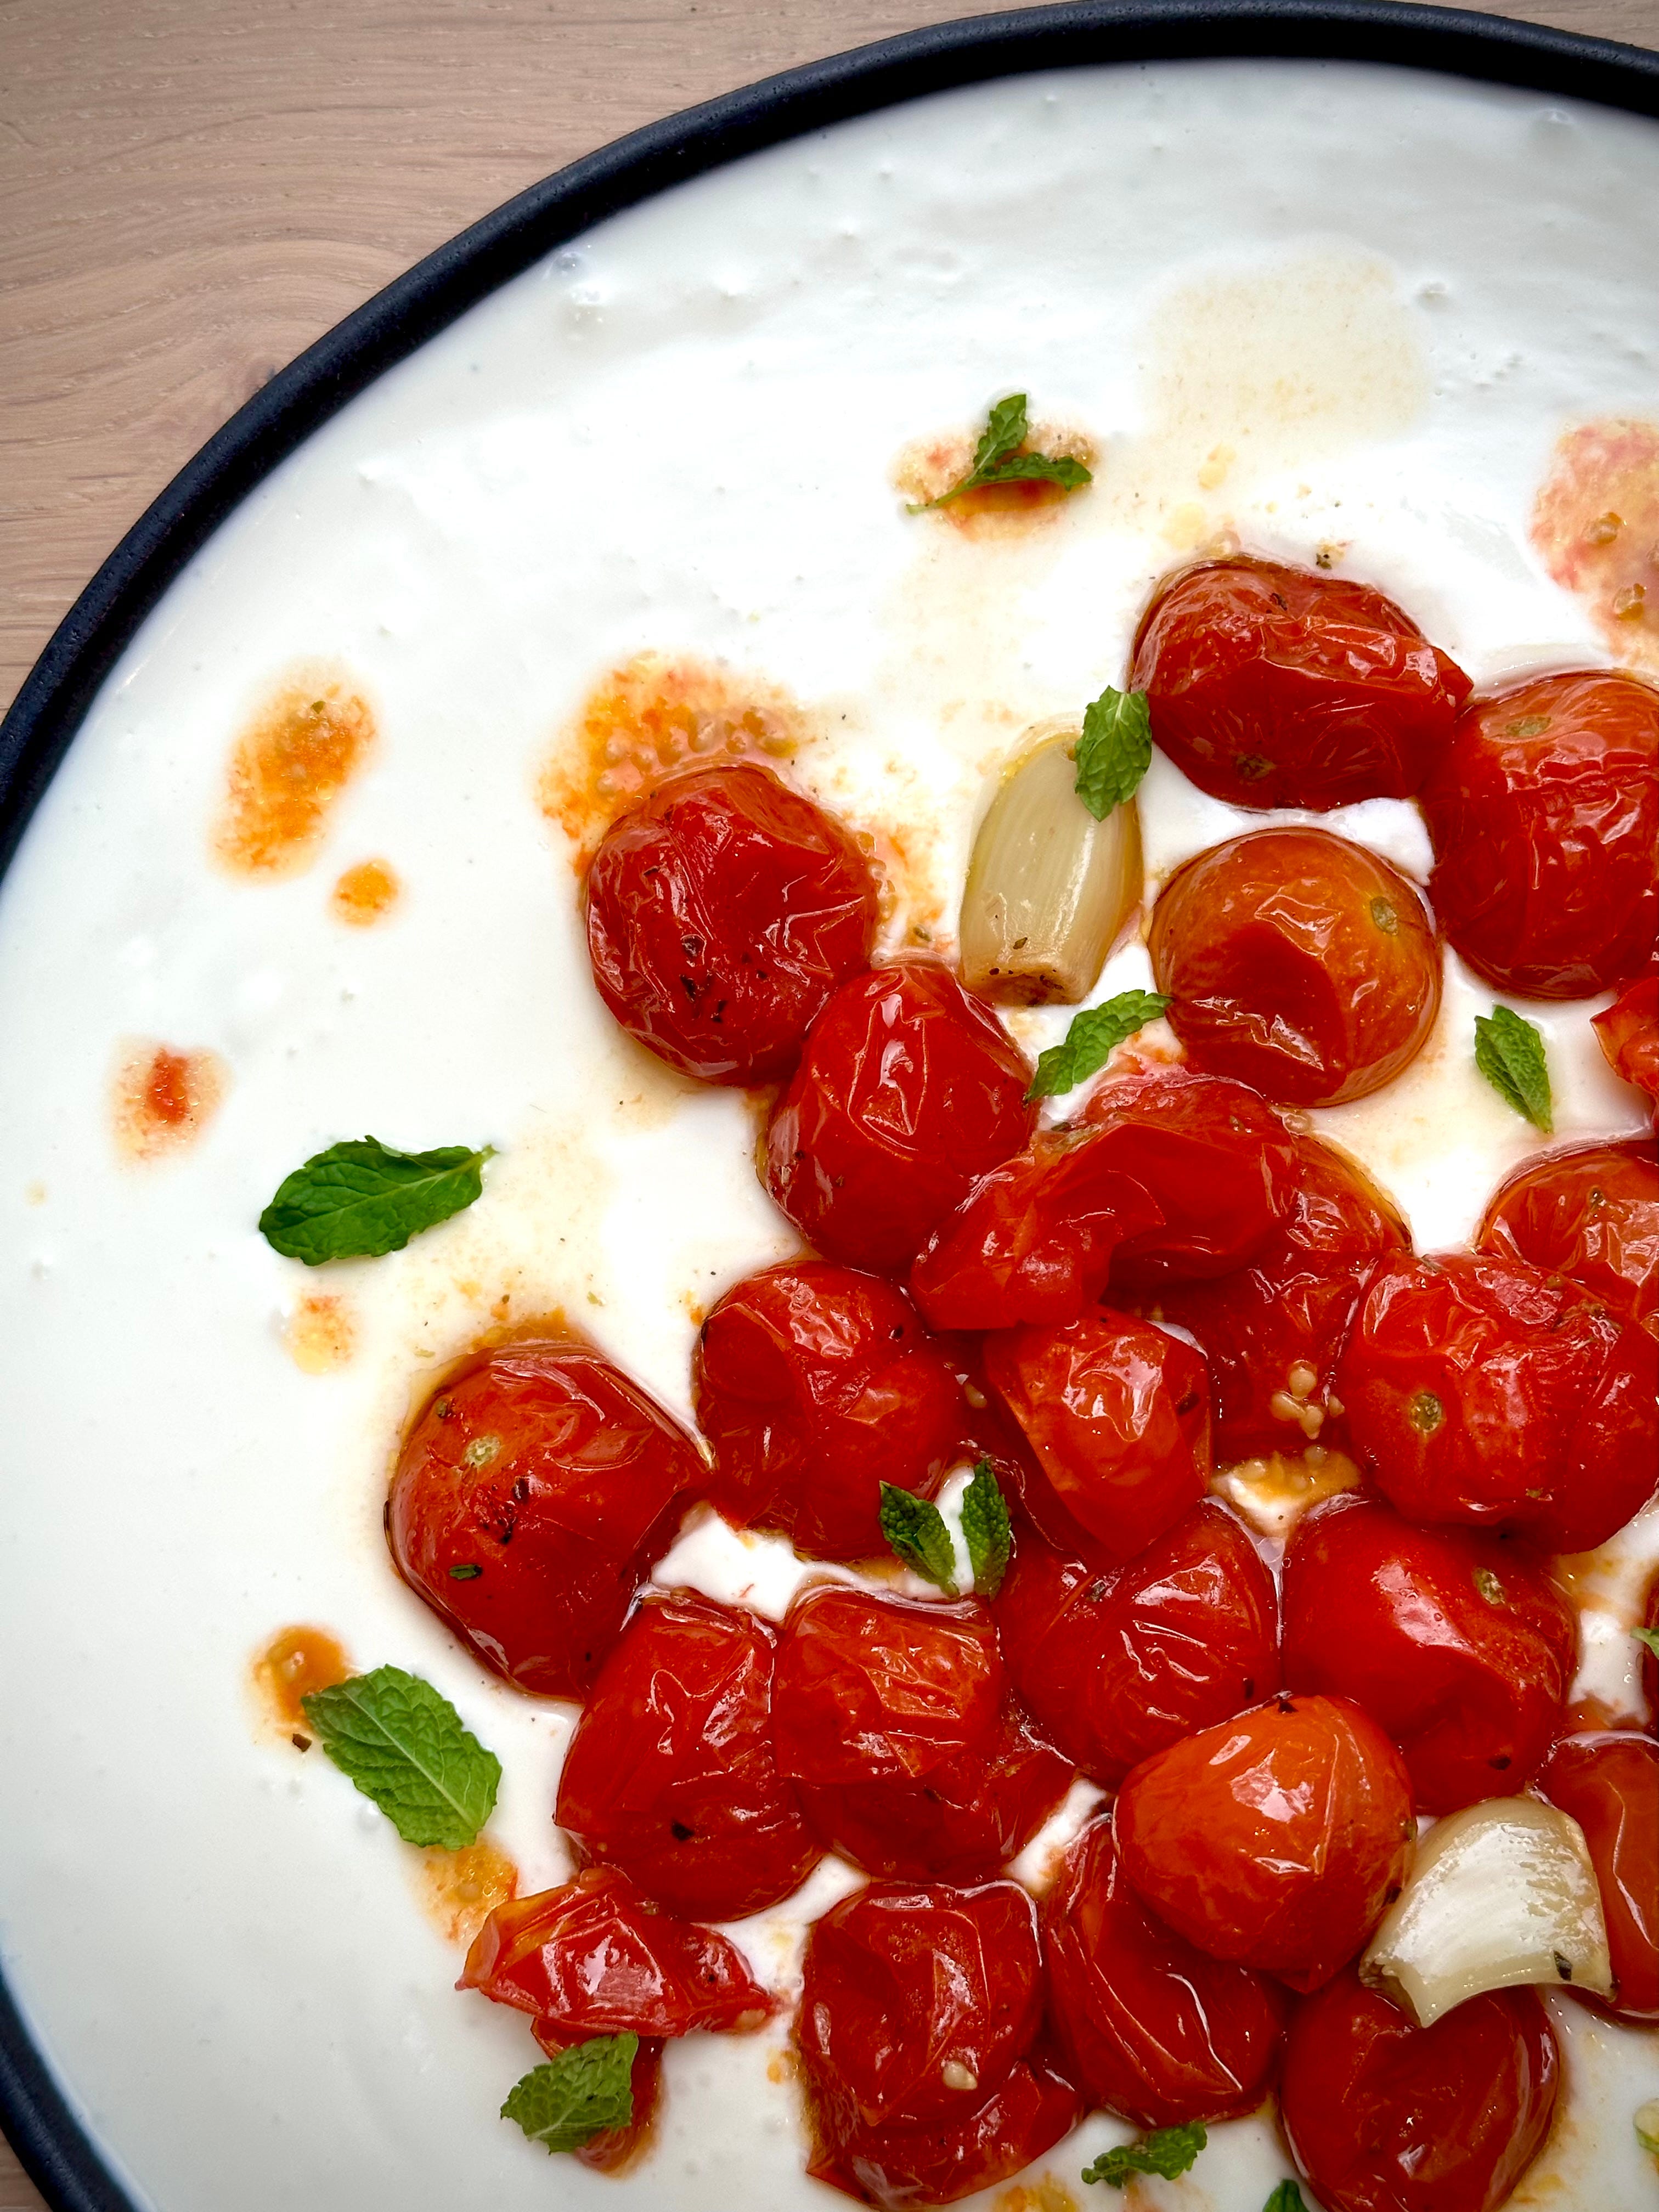
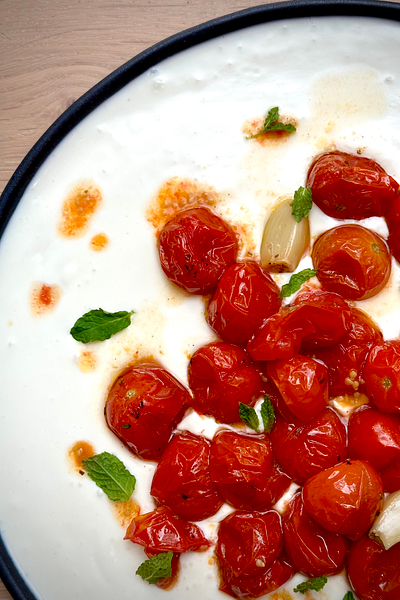
I made this Roasted Tomato, Garlic & Feta Dip as a last-minute accompaniment to the plethora of crispy, crunchy goods which preceeded a tonne of buttery, roasted goods. It’s perfect when you want something dunky. Ya know when you want to tear off a chunk of freshly baked baguette, maybe some toasted pita or even hot, buttery naan and plunge it into a vat of something utterly, finger lickingly delicious? This. This is that.
The salty hit from the feta works so well with the natural sweetness from the roasted toms and who in their right mind is ever going to complain about roasted garlic? It’s a trio of scrummy flavours, made with minimal effort but with max returns.
Recipe Serves: 6
Y O U – W I L L – N E E D –
325 g Cherry Tomatoes
½ Garlic Bulb
Extra Virgin Olive Oil
Sea Salt & Black Pepper
Pinch of Dried Oregano
Pinch of Caster Sugar
200 g Feta
100 g Natural Yoghurt
½ Lemon, juice only
Small Handful of Fresh Mint, leaves only
M E T H O D –
Preheat your oven to 160C Fan/320F/Gas Mark 4.
Place your tommy t’s in an oven proof dish, alongside the half bulb of garlic. When I say half bulb, I mean a whole bulb of garlic sliced in half horizontally.
Sprinkle over some sea salt (don’t be shy), a good crack of black pepper, a pinch of caster sugar and oregano and then finish with a drizzle of olive oil.
Pop your dish into the oven and cook for 35 to 40 minutes, until the tomatoes have slightly burst open and the skin has gone a little wrinkly. Remove and leave to cool.
In a food processor, add in your feta cheese, a good squeeze of lemon and two cloves of roasted garlic from your tommy t dish.
Blitz until smooth (or leave slightly chunky if you want a bit of bite).
Transfer the feta to your serving bowl and add the natural yoghurt. Give it a good stir to combine before piling on top your cooled roasted tomatoes, a spoonful of tomato juice from the dish and nestle in a few roasted garlic cloves.
Sprinkle over some fresh mint leaves to finish and serve up alongside some crusty bread, toasted pita or buttery, hot naan to mop up the yum.


The next recipe I am sharing with you in this feast of a newsletter are my Bombay Fondant Potatoes.
Sweet mother have mercy on me – THIS is the only way to eat potatoes from here on. Sure, we know fondant potatoes are delicious (if you haven’t had them before, just think of them as little golden bundles of velvety, buttery smooth potato), but Bombay style fondant potatoes? NOW we are talking. I served these up alongside some Mint and Coriander marinated Lamb Chops and some Roasted Carrots and whilst these two were good – the potatoes were the star of the show.
The chops and carrots were mere backing dancers to these bad boys. And the best thing? Super easy to make at home and you don’t need a tonne of ingredients or kit to get them made.


Will my mum look at me in mild disgust for completely westernizing her recipe into something she no longer recognizes? Perhaps but I think she’d get why when she tries them. These would make a banging accompaniment to any dish in urgent need of zhuzhing up, or alongside some tandoori chicken, lamb chops (like I did), koftes, kebabs, a roast dinner, or just in a bowl on their own drowning in a bit of homemade onion gravy.
Drown me. And drown me immediately.
Recipe Serves: 6
Keep reading with a 7-day free trial
Subscribe to The Last Bite to keep reading this post and get 7 days of free access to the full post archives.