

A Spring in my Step
Thanks to my Lemon, Pistachio & Cardamom Meringue Cake, Blood Orange & Earl Grey Loaf, Chocolate & Banoffee Pie, plus the latest two Around the World Cakes.


Hey Friends!
I hope you are all doing well and have had a lovely week? I come here with my tail between my two legs, head slightly dipped and hat in hand to say I am SO sorry for once again missing the newsy last week BUT l fear I have a valid excuse because guess who was back in the Eye Casualty??!
Ding ding ding ding ding! Correct, it was I. I and my big fat, swollen, painful, still experiencing light flashes eye. Whilst I thought I was making great progress from my aforementioned padel injury (if you missed the deets on that, I will summarise by saying I got hit in the eyeball with a tennis ball 2/3 weeks back and have been painfully paying the price for it ever since) but a radically reduced steroid eye drop recommendation saw my eye rebound back to the start. So instead of spending time working on the newsletter, I was back to looking like the hunchback of Notre Dame, hiding behind sunglasses and actively ignoring the constant migraine which pestered me all week.


So…a worthy excuse?? That being said, my eye is (famous last words) doing much better. I have emerged from the darkness with two eyes now a similar size to each other and not looking like a total horror show so its back to being a kitchen cretin for me.
In addition to that, I have finally witnessed a blue sky on a number of occasions this week, which THANK THE BLOODY LORD because this year is the first year, I think I fully experienced SAD (seasonal affective disorder) and for someone who is a self-professed eternal cosy gal, that really is saying something.
I’d love to share some juicy gossip I have been sitting on for a while but feel I may be sharing a little too early but let’s just say, whilst I may not be opening a bakery sometime soon, I’ll be doing something which hopefully will be a stepping-stone to that ultimate life goal. Still equally petrifying putting yourself out there in yet another way but it’s something I have wanted to do for a long long time – and after the miscarriage last year, I promised myself I would do something positive for myself with this ‘extra time’ I have ‘got back’ so to speak so I’ll share more with you all soon. But I promise it’ll be delicious, it’ll be naughty and of course, it will be FILTHY.
Thanks so much for being here – some delicious things are coming your way.

This week we have skipped the food prep bits (because this would be a MAMMOTH edition if we added that to the pile) but have kept it heavy on the delicious sweet treats – a well-balanced, all-rounder packed full of baking inspo ahead of Mothers’ Day this weekend (don’t panic US friends, you haven’t time jumped).
I am a firm and staunch resident of the Acts of Service Club (not officially formed but come to think of it, this does sound like something I would highly enjoy being a part of) and so baking and cooking for loved ones to show them how much I love and care for them is my default mode. Spending hours upon end just to see your nearest and dearest smile with glee when they are tucking into a hunky chunk of cake you poured effort into? Love it. No better feeling (other than winning the lottery, I assume).


But fear not, I’ll drop in again next week to make up for the lack of food prep with bits including my go to Lasagne (nothing traditional or authentic about my version but highly delicious, satisfying and annoyingly moreish. Deeply unctuous – best eaten with garlic bread to mop up a beef bone broth rich sauce), a Feta, Mint & Bean Salad (as someone looking to increase their protein and fibre intake, this bean salad helps to nail both) and a Garlic, Cheese & Parsley Soda Bread (because I can’t say you need to mop up the lasagne sauce without giving you an appropriate mopping tool can I?!).
To tickle those tastebuds this week, we have:
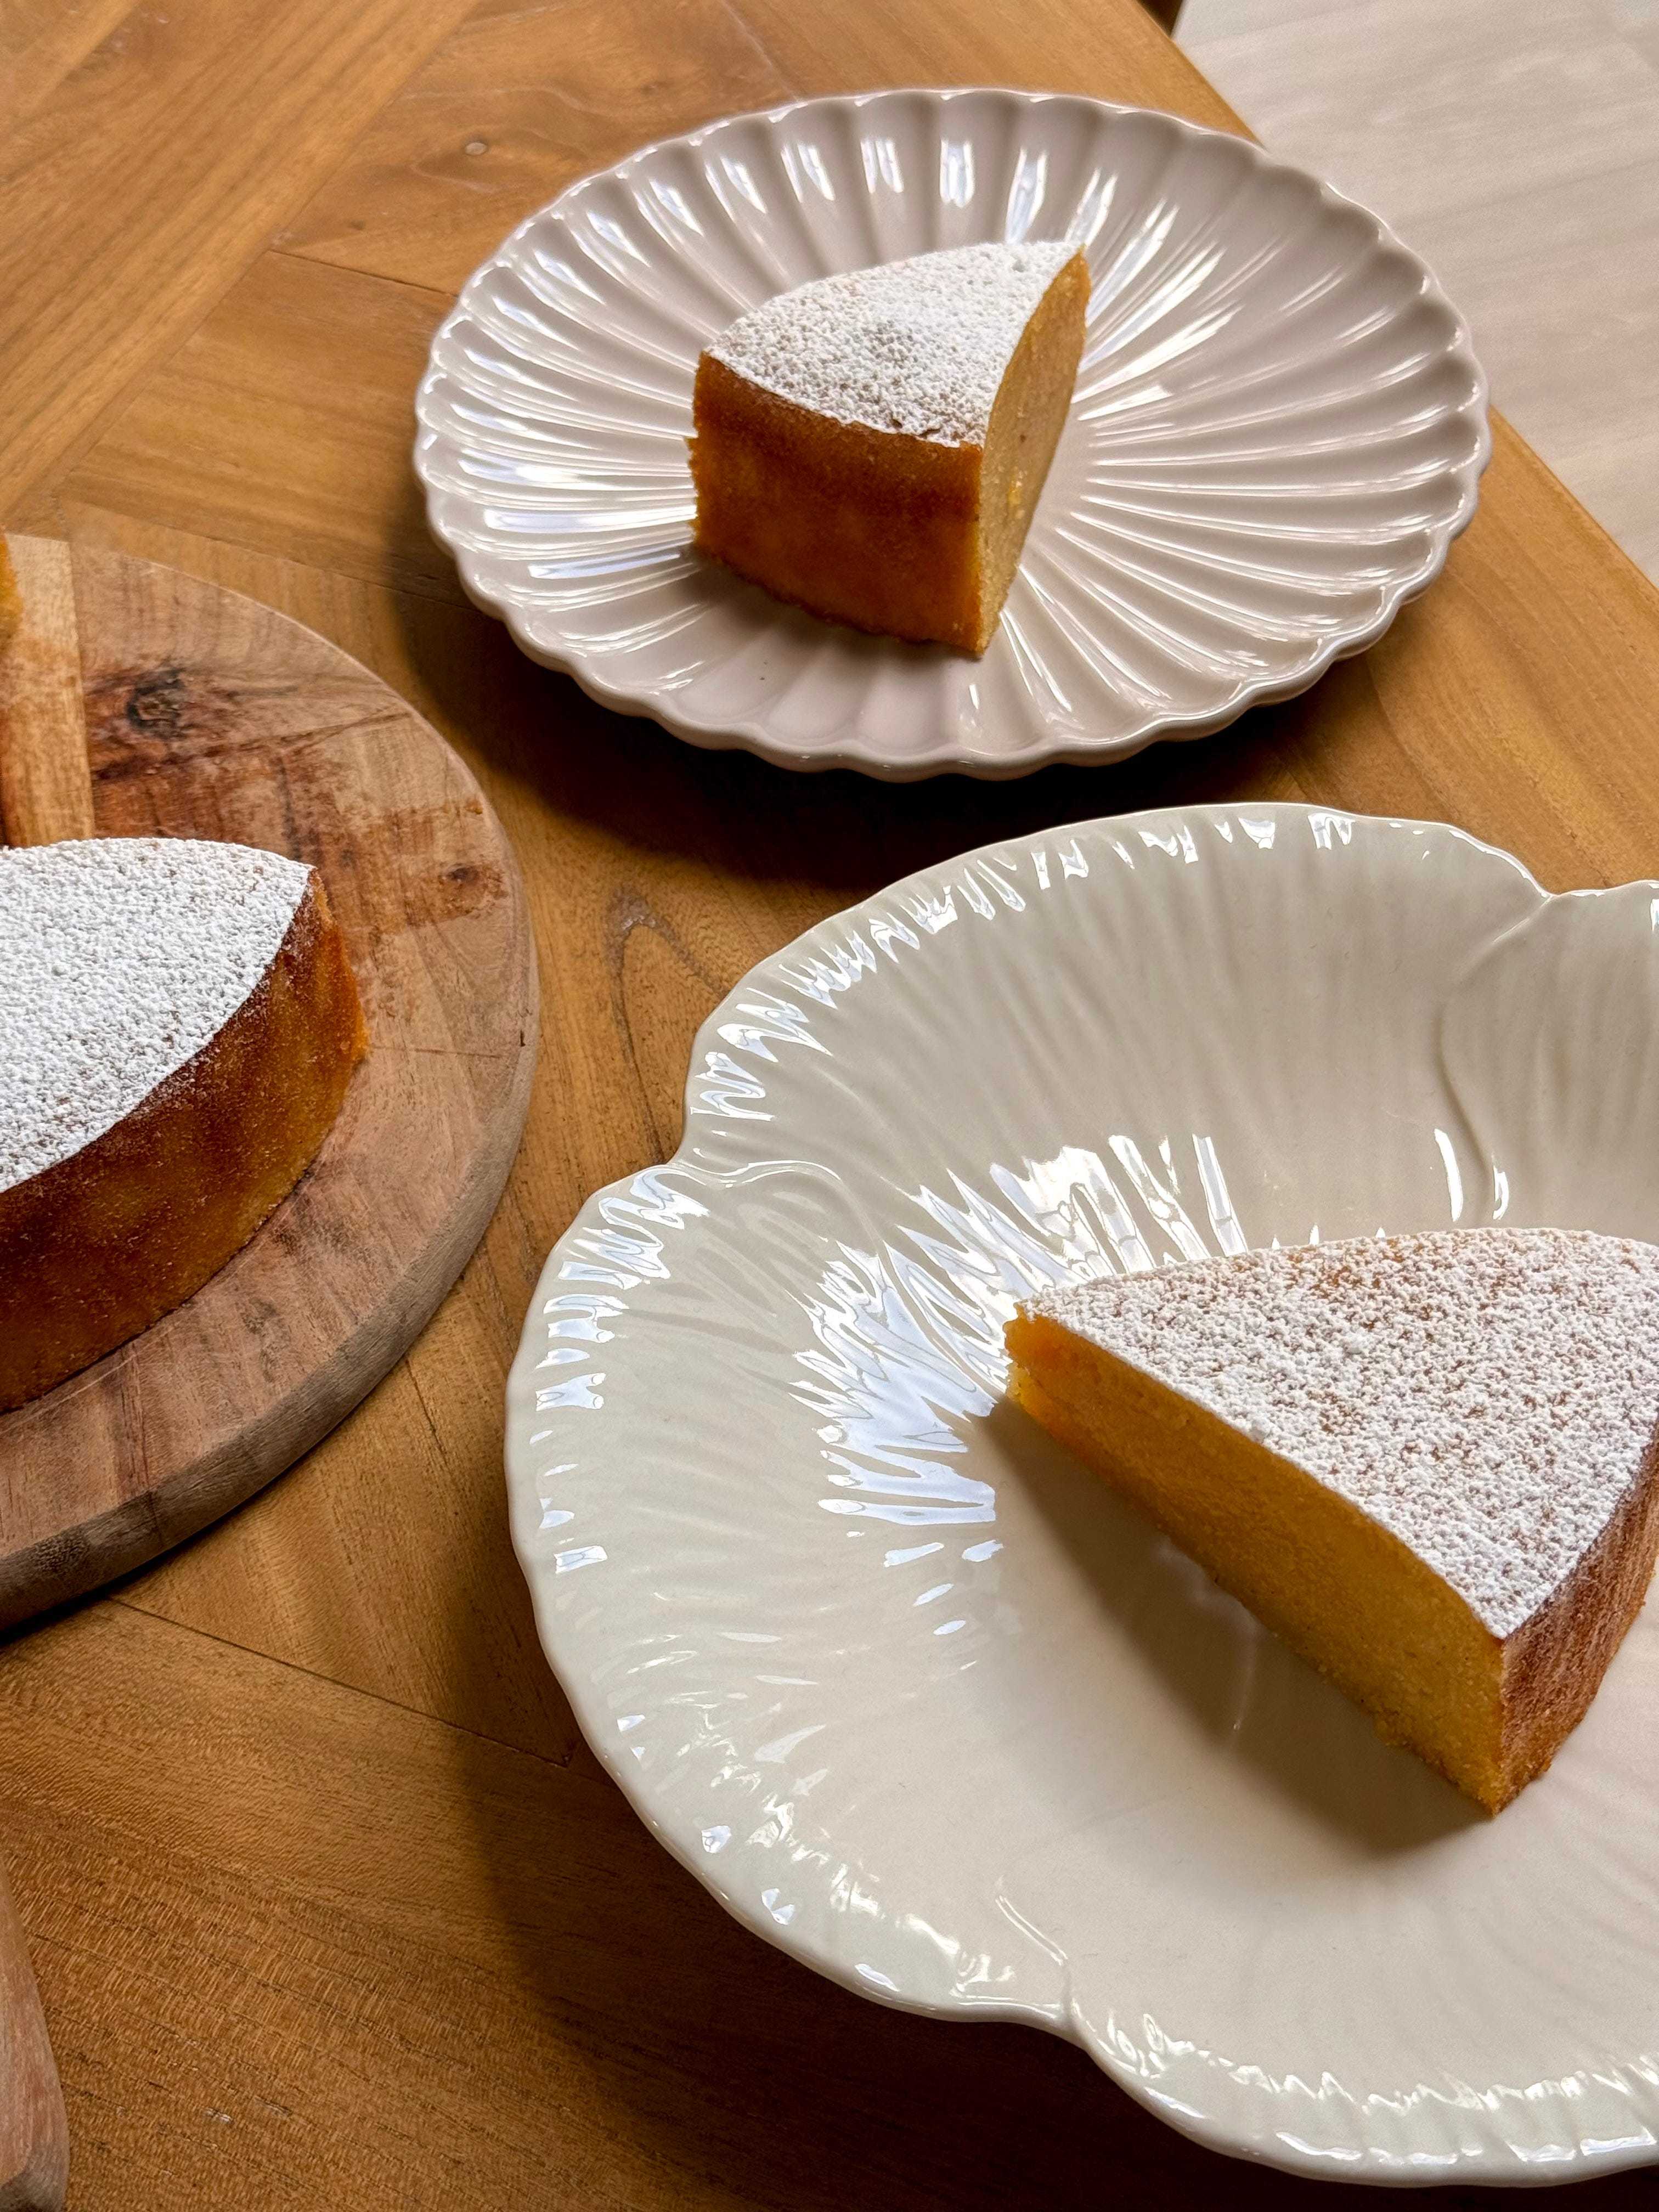
Portuguese Toucinho do Ceu. An Around the World cake which features a rogue ingredient. The name translates to ‘bacon from heaven’ so that should tell you all you need to know.
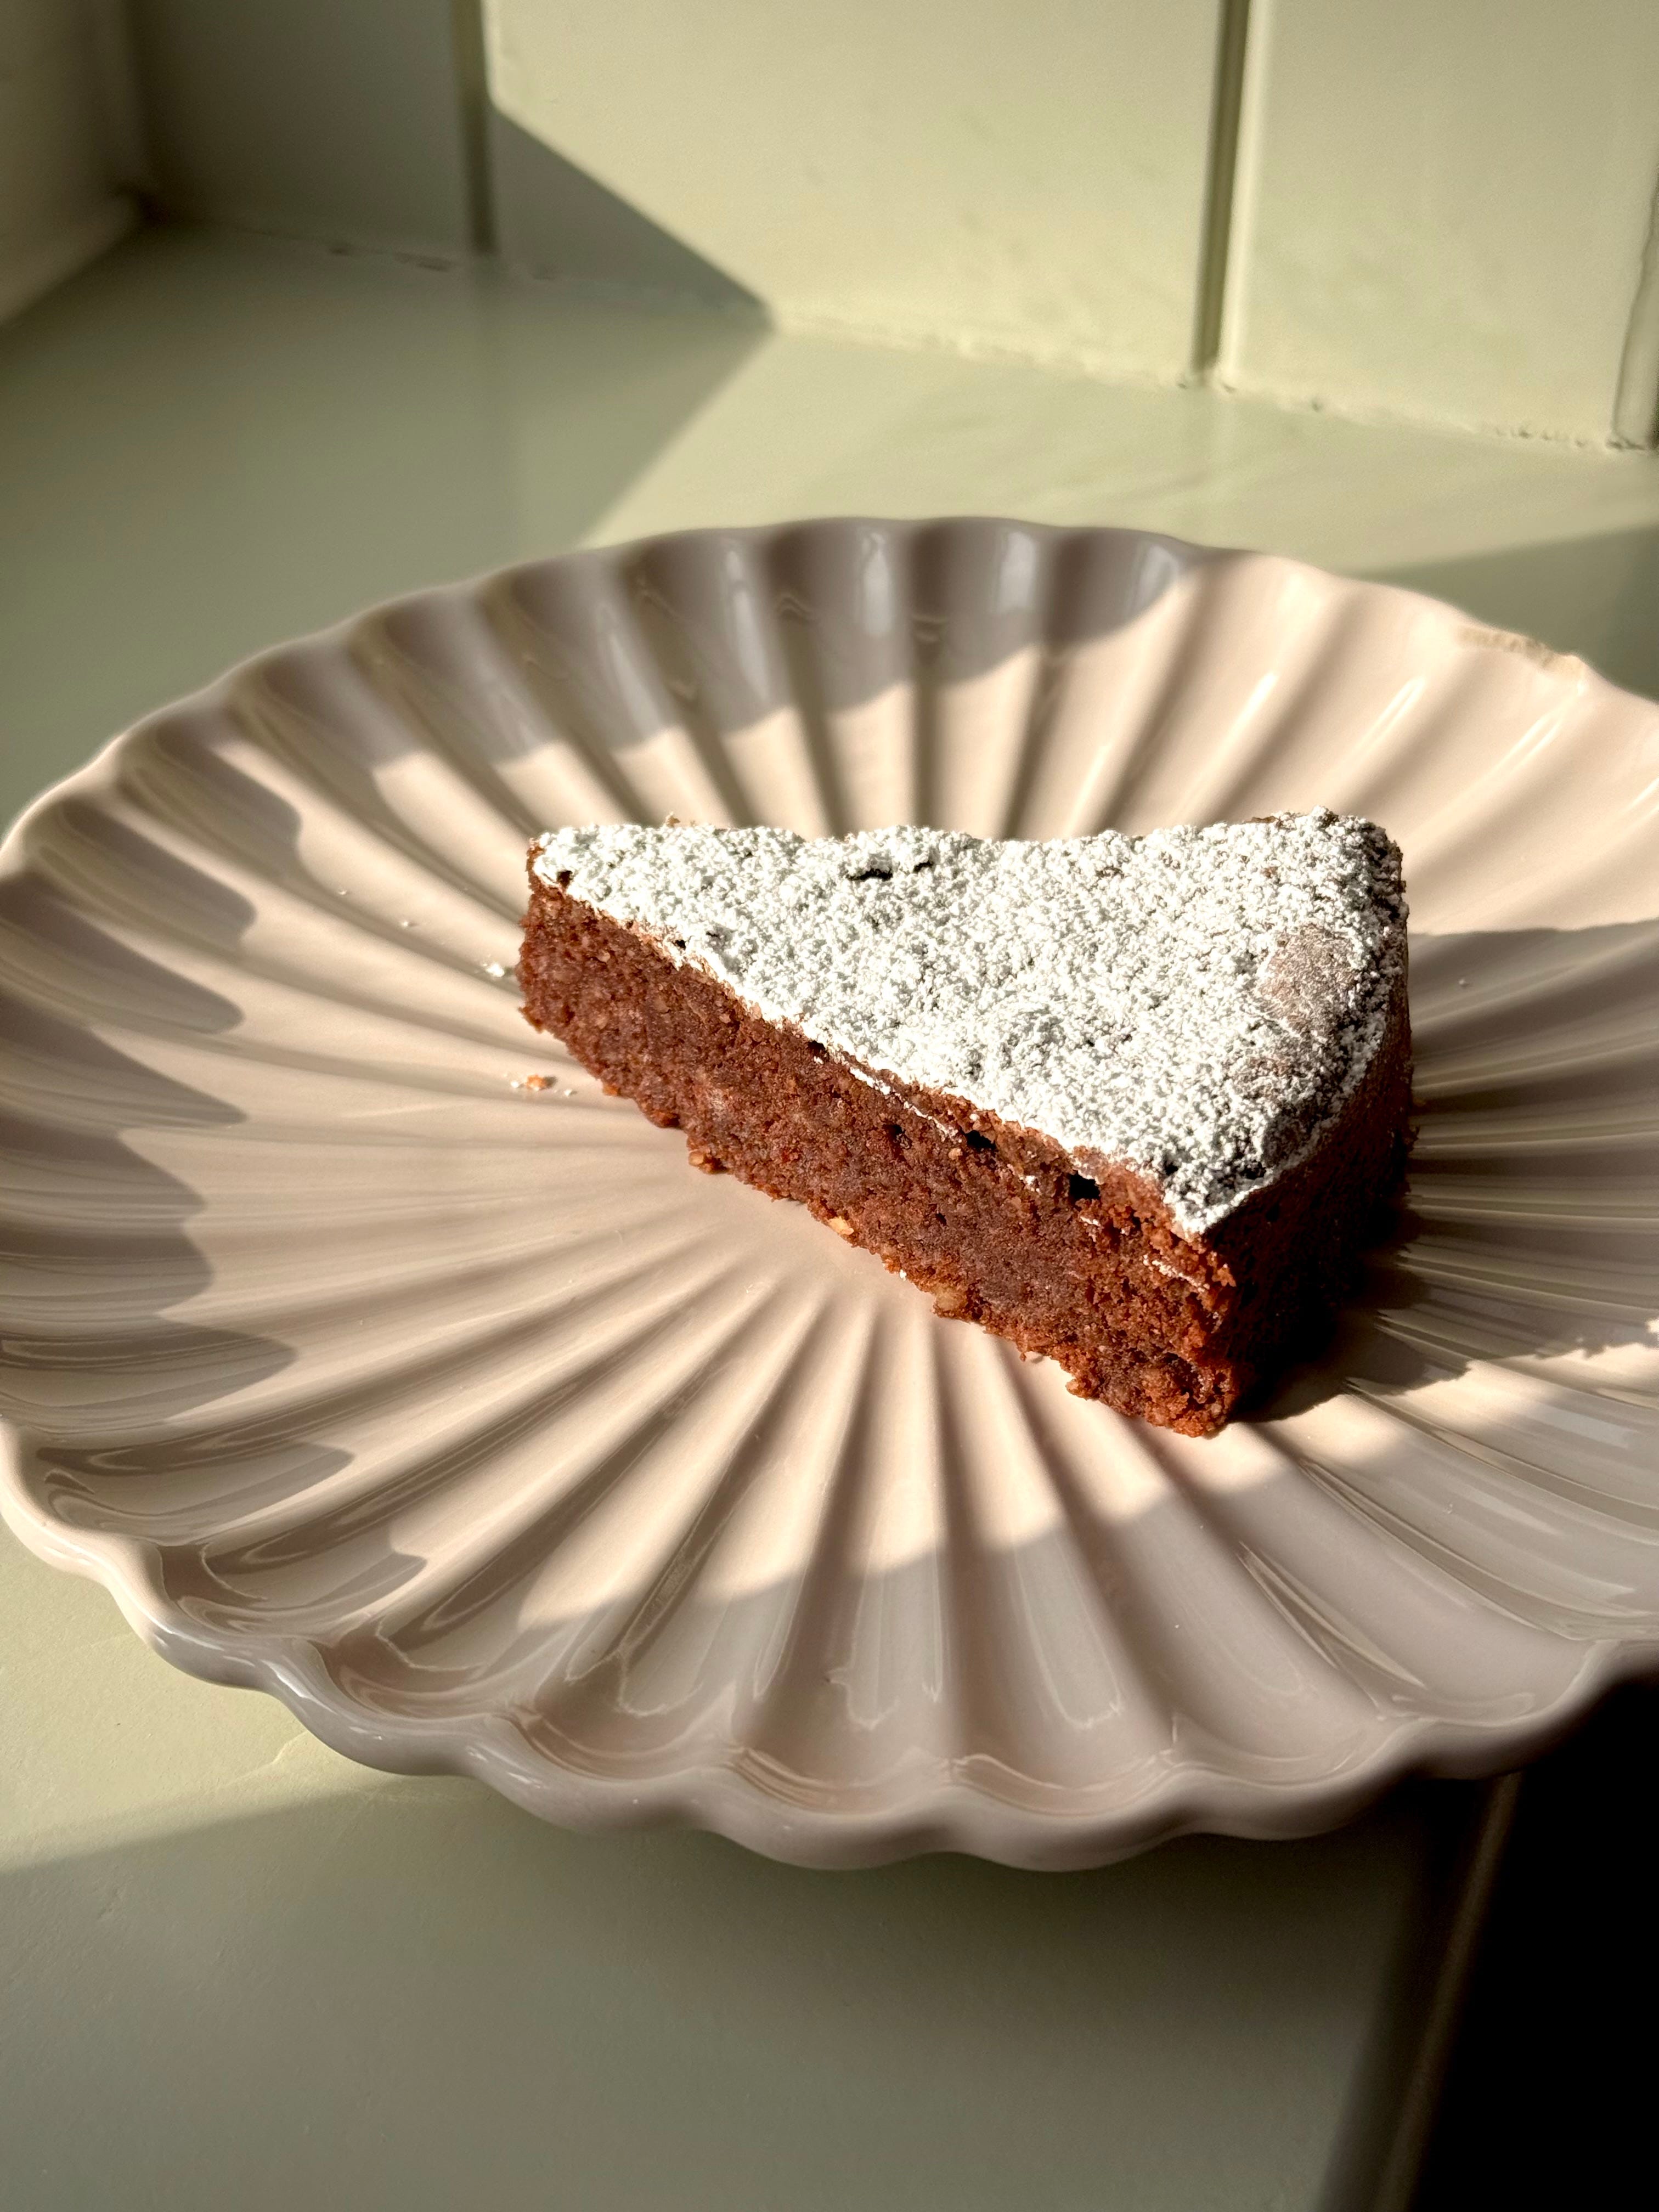
Italian Torta Caprese. The latest Around the World cake, similar to the recently shared Torta Tenerina but more elite in every way. Fudgy, chocolatey, rich and indulgent.
Blood Orange & Earl Grey Loaf. My simple Mothers’ Day bake offering. Zingy, warming, and sweet. The perfect accompaniment to a cup of coffee.
Chocolate & Banoffee Pie. It’s every bit as filthy as it sounds. Here we have that classic pie, teamed with a velvety smooth baked dark chocolate filling and a mountain of double cream. I warn you, one more bit is never enough.
Lemon, Pistachio & Cardamom Meringue Cake. The main bake of the day and rightfully so. She’s a little show-offy but deservedly so. Taking inspiration from Ukraine’s Kyiv Cake and the fat layer of meringue which sits sandwiched between airy sponges, this is a textural slice of heavenly nice. Sweet, soft, tart, crunchy and buttery soft. This is the perfect cake to make to celebrate the sky is FINALLY blue. Yay.


It felt like it had been a longgg old time since we last did an Around the World (the last was back in 2025!) so we were long overdue a visit on the old carb-o-coaster to try another countries delights. In one way I am utterly baffled as to how it has taken me nearly 3 years to get through making, baking, eating and reviewing 80 cakes but now the top ten is knocking on our doors, I am in mad denial that the end feels so close. Who even am I without this cake list? What will become of me? What will I do?
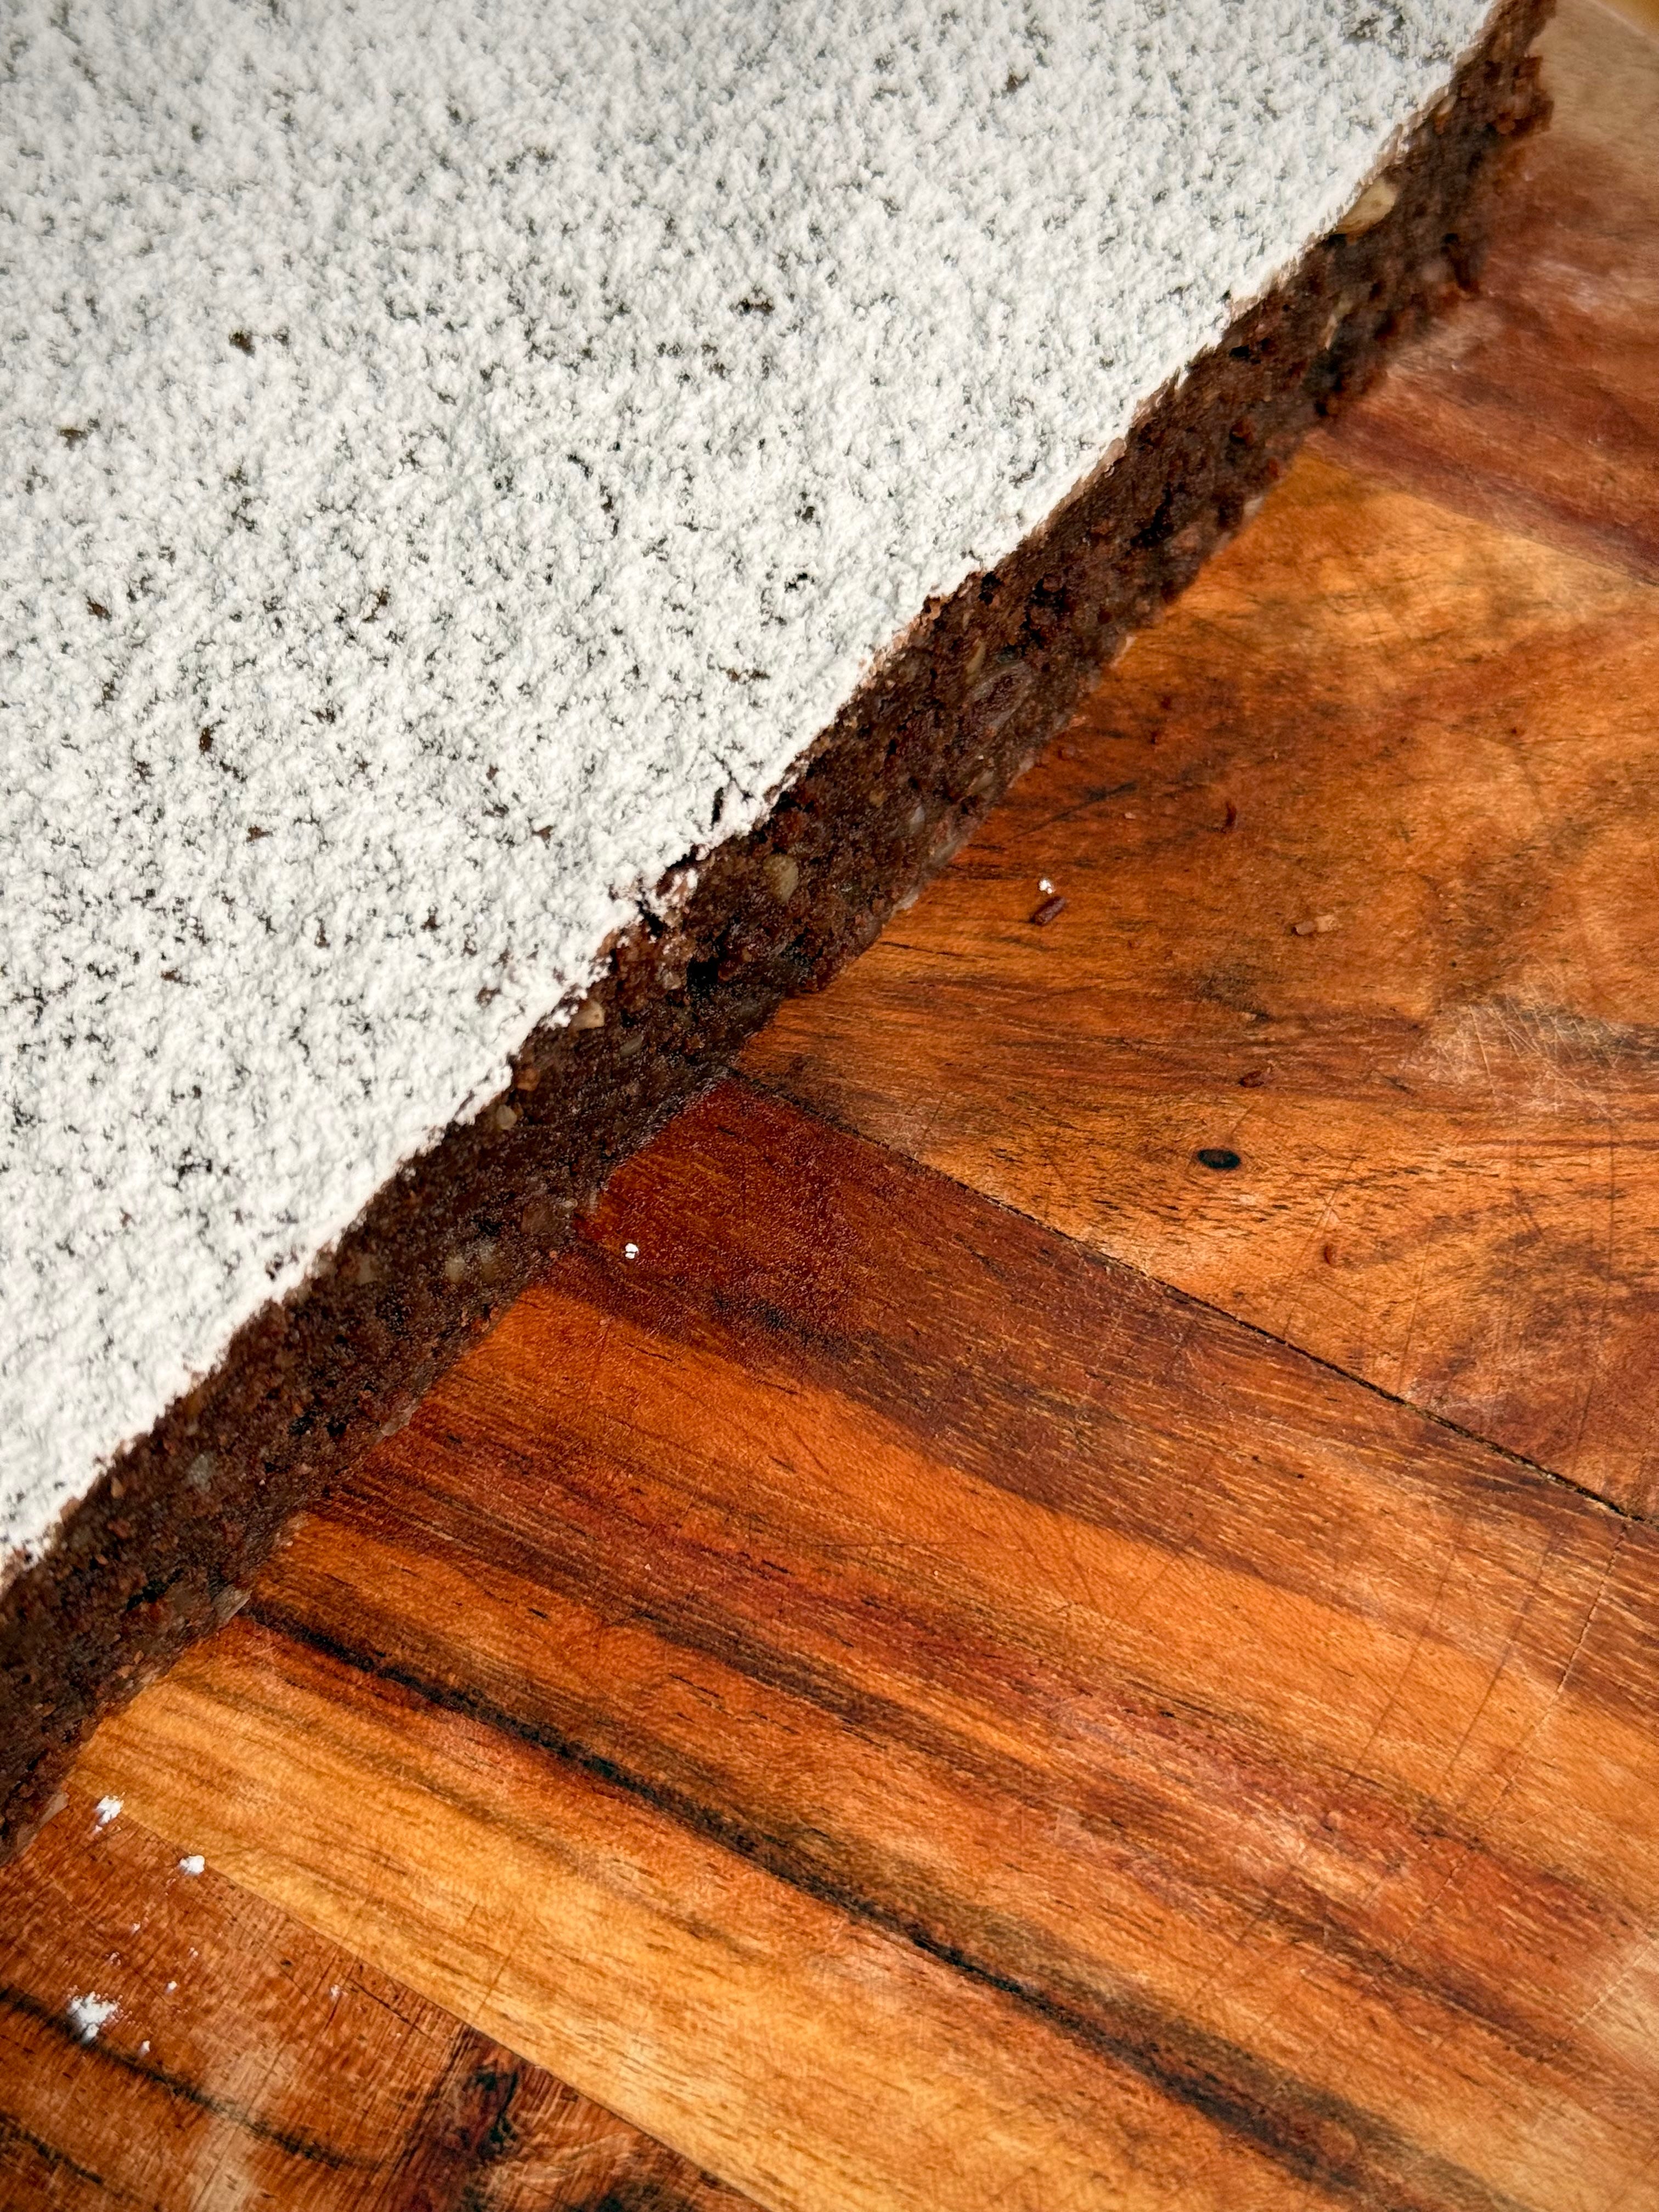
Existential crisis temporarily parked, in at number 14, we finally head over to Portugal for their Toucinho do Céu, which intriguingly translates to ‘bacon from heaven’. An odd name yes for a cake, but when you realise that traditionally and originally lard was a key component, it starts to make sense.
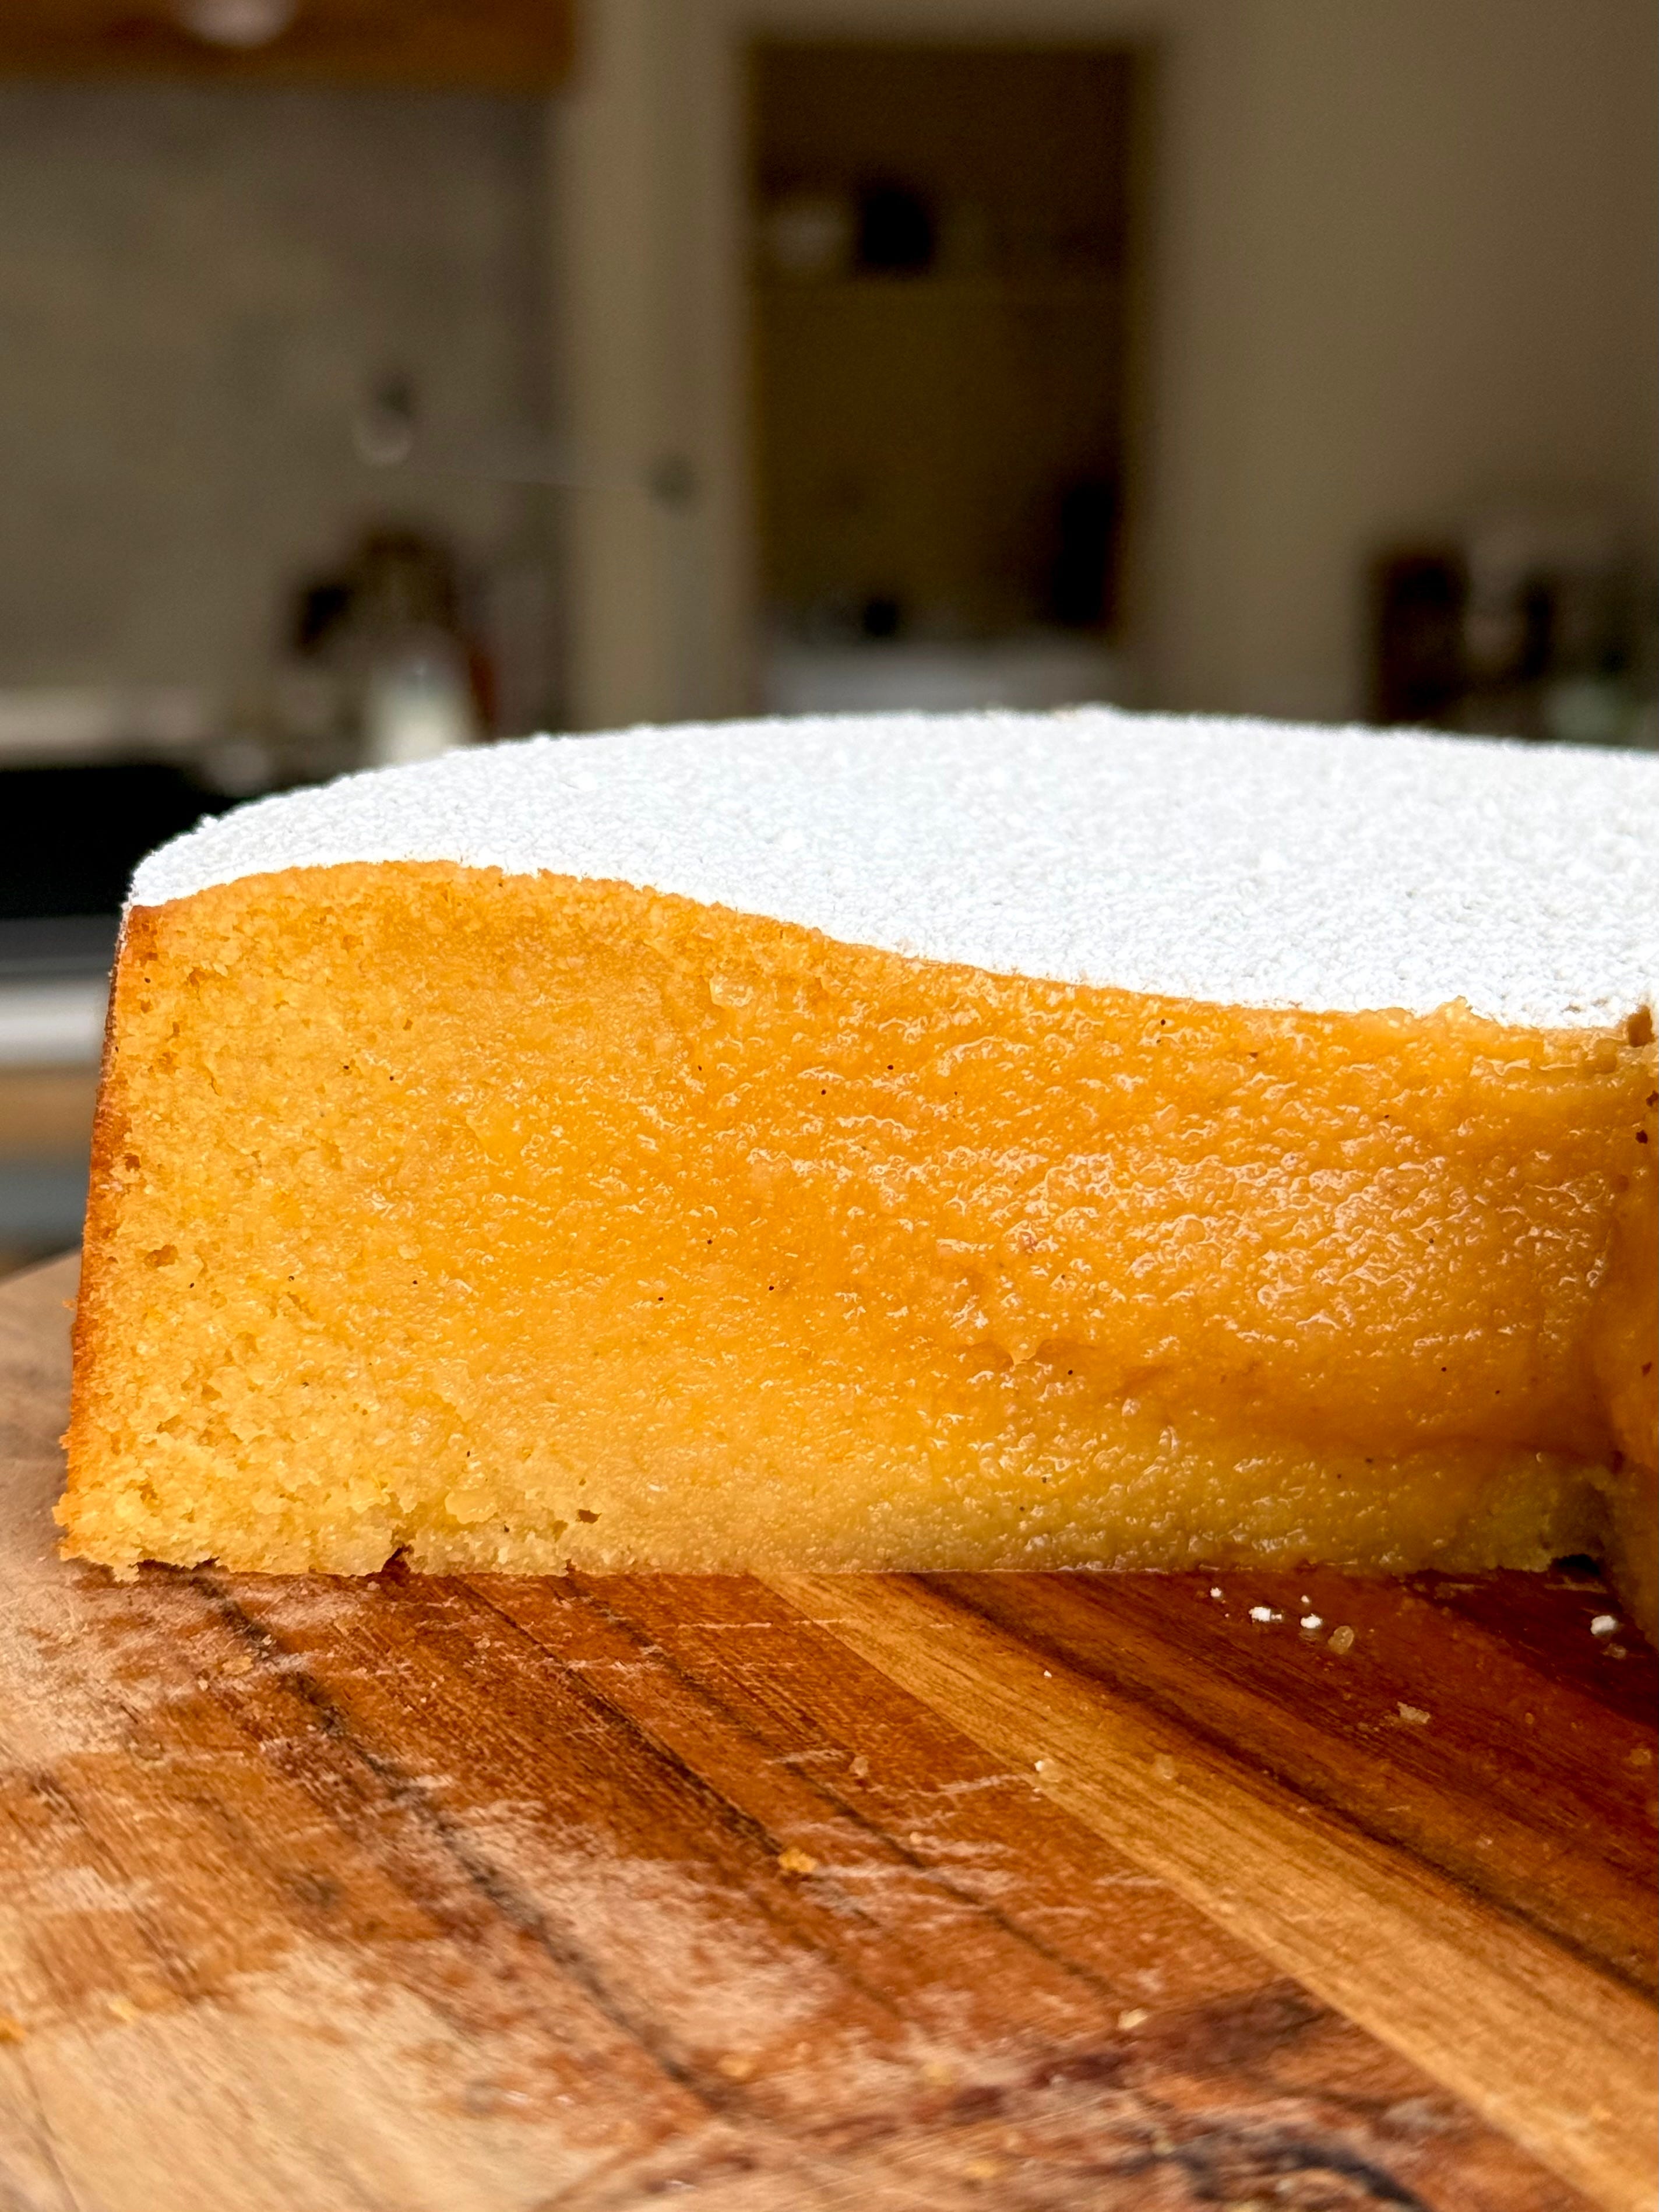
Buttery rich, dense and incredibly moist, this didn’t have a traditional light and fluffy cake texture once baked but is more so comparable to a set custard. This is a great gluten free bake, and as someone who does enjoy teaming sweet with savoury, I think the preconception of knowing that lard plays a part may have sabotaged a fair review BUT I do think switching it out for olive oil instead would be an incredibly delicious substitute. I’d also highly suggest increasing the orange zest for a punchier flavour and to help cut through the richness.
I had A LOT of feedback on this cake – some in agreement with my thoughts and a lot outraged that I used lard in the cake. I want to heavily stress that the Portuguese restaurant, whose recipe I broadly followed, lies along the traditional lines. Nowadays and more commonly, butter is used as opposed to lard which would be a better sub for a wider palette.
Recipe Makes: 1 x 20 cm / 8 inch cake tin with removable base/springform
Recipe Serves: 9
Y O U – W I L L – N E E D –
350 g Caster Sugar
190 ml Water
1/2 tsp Sea Salt
45 g Ibérico Lard (sub for normal lard/olive oil/butter)
90 g Unsalted Butter, diced
400 g Ground Almonds
8 Large Eggs, yolks only
3 Large Eggs, whole
30 ml Amaretto (sub for orange juice + 1 tsp almond extract)
1 Large Orange, zest only
1 tsp Vanilla Bean Paste
Icing Sugar, to finish
M E T H O D –
Preheat the oven to 140C Fan/160C/320F and grease and line a 20 cm / 8 inch removable base/springform cake tin.
Into a saucepan, add the sugar, water, lard and salt. Place over a medium heat before bringing it to a boil.
Once boiling, add in the ground almonds and mix well. Continue cooking the almonds over a low to medium heat for a few minutes.
Remove the pan from the heat and add in the butter. Mix to ensure it completely melts and is well incorporated.
To the pan, add the whole eggs, yolks, amaretto (if using), orange zest and vanilla bean paste. Use a balloon whisk to mix well before switching out to a rubber spatula to scrape down the base and sides of the pan to ensure everything is combined. You want this to be a coarse but smooth mix.
Transfer the batter into your lined cake tin and place onto the middle shelf of the oven for 30 to 35 minutes. You want the top of the cake to be firm and lightly golden. If the cake top is wobbly, place back in the oven for a further 5 minutes to continue cooking.
Remove from the oven and allow the cake to sit in the tin for 30 minutes before covering the top with clingfilm. Leave to cool before placing in the fridge overnight to set.
The next day, gently remove the cake from the tin and transfer to your serving plate. Dust the top with icing sugar before using a hot knife to slice.
And cause we are catching you up from missing the newsy last week, here is the latest Around the World from this week – and I am pleased to say it does not feature any rogue ingredients, nor is lard anywhere near the recipe.
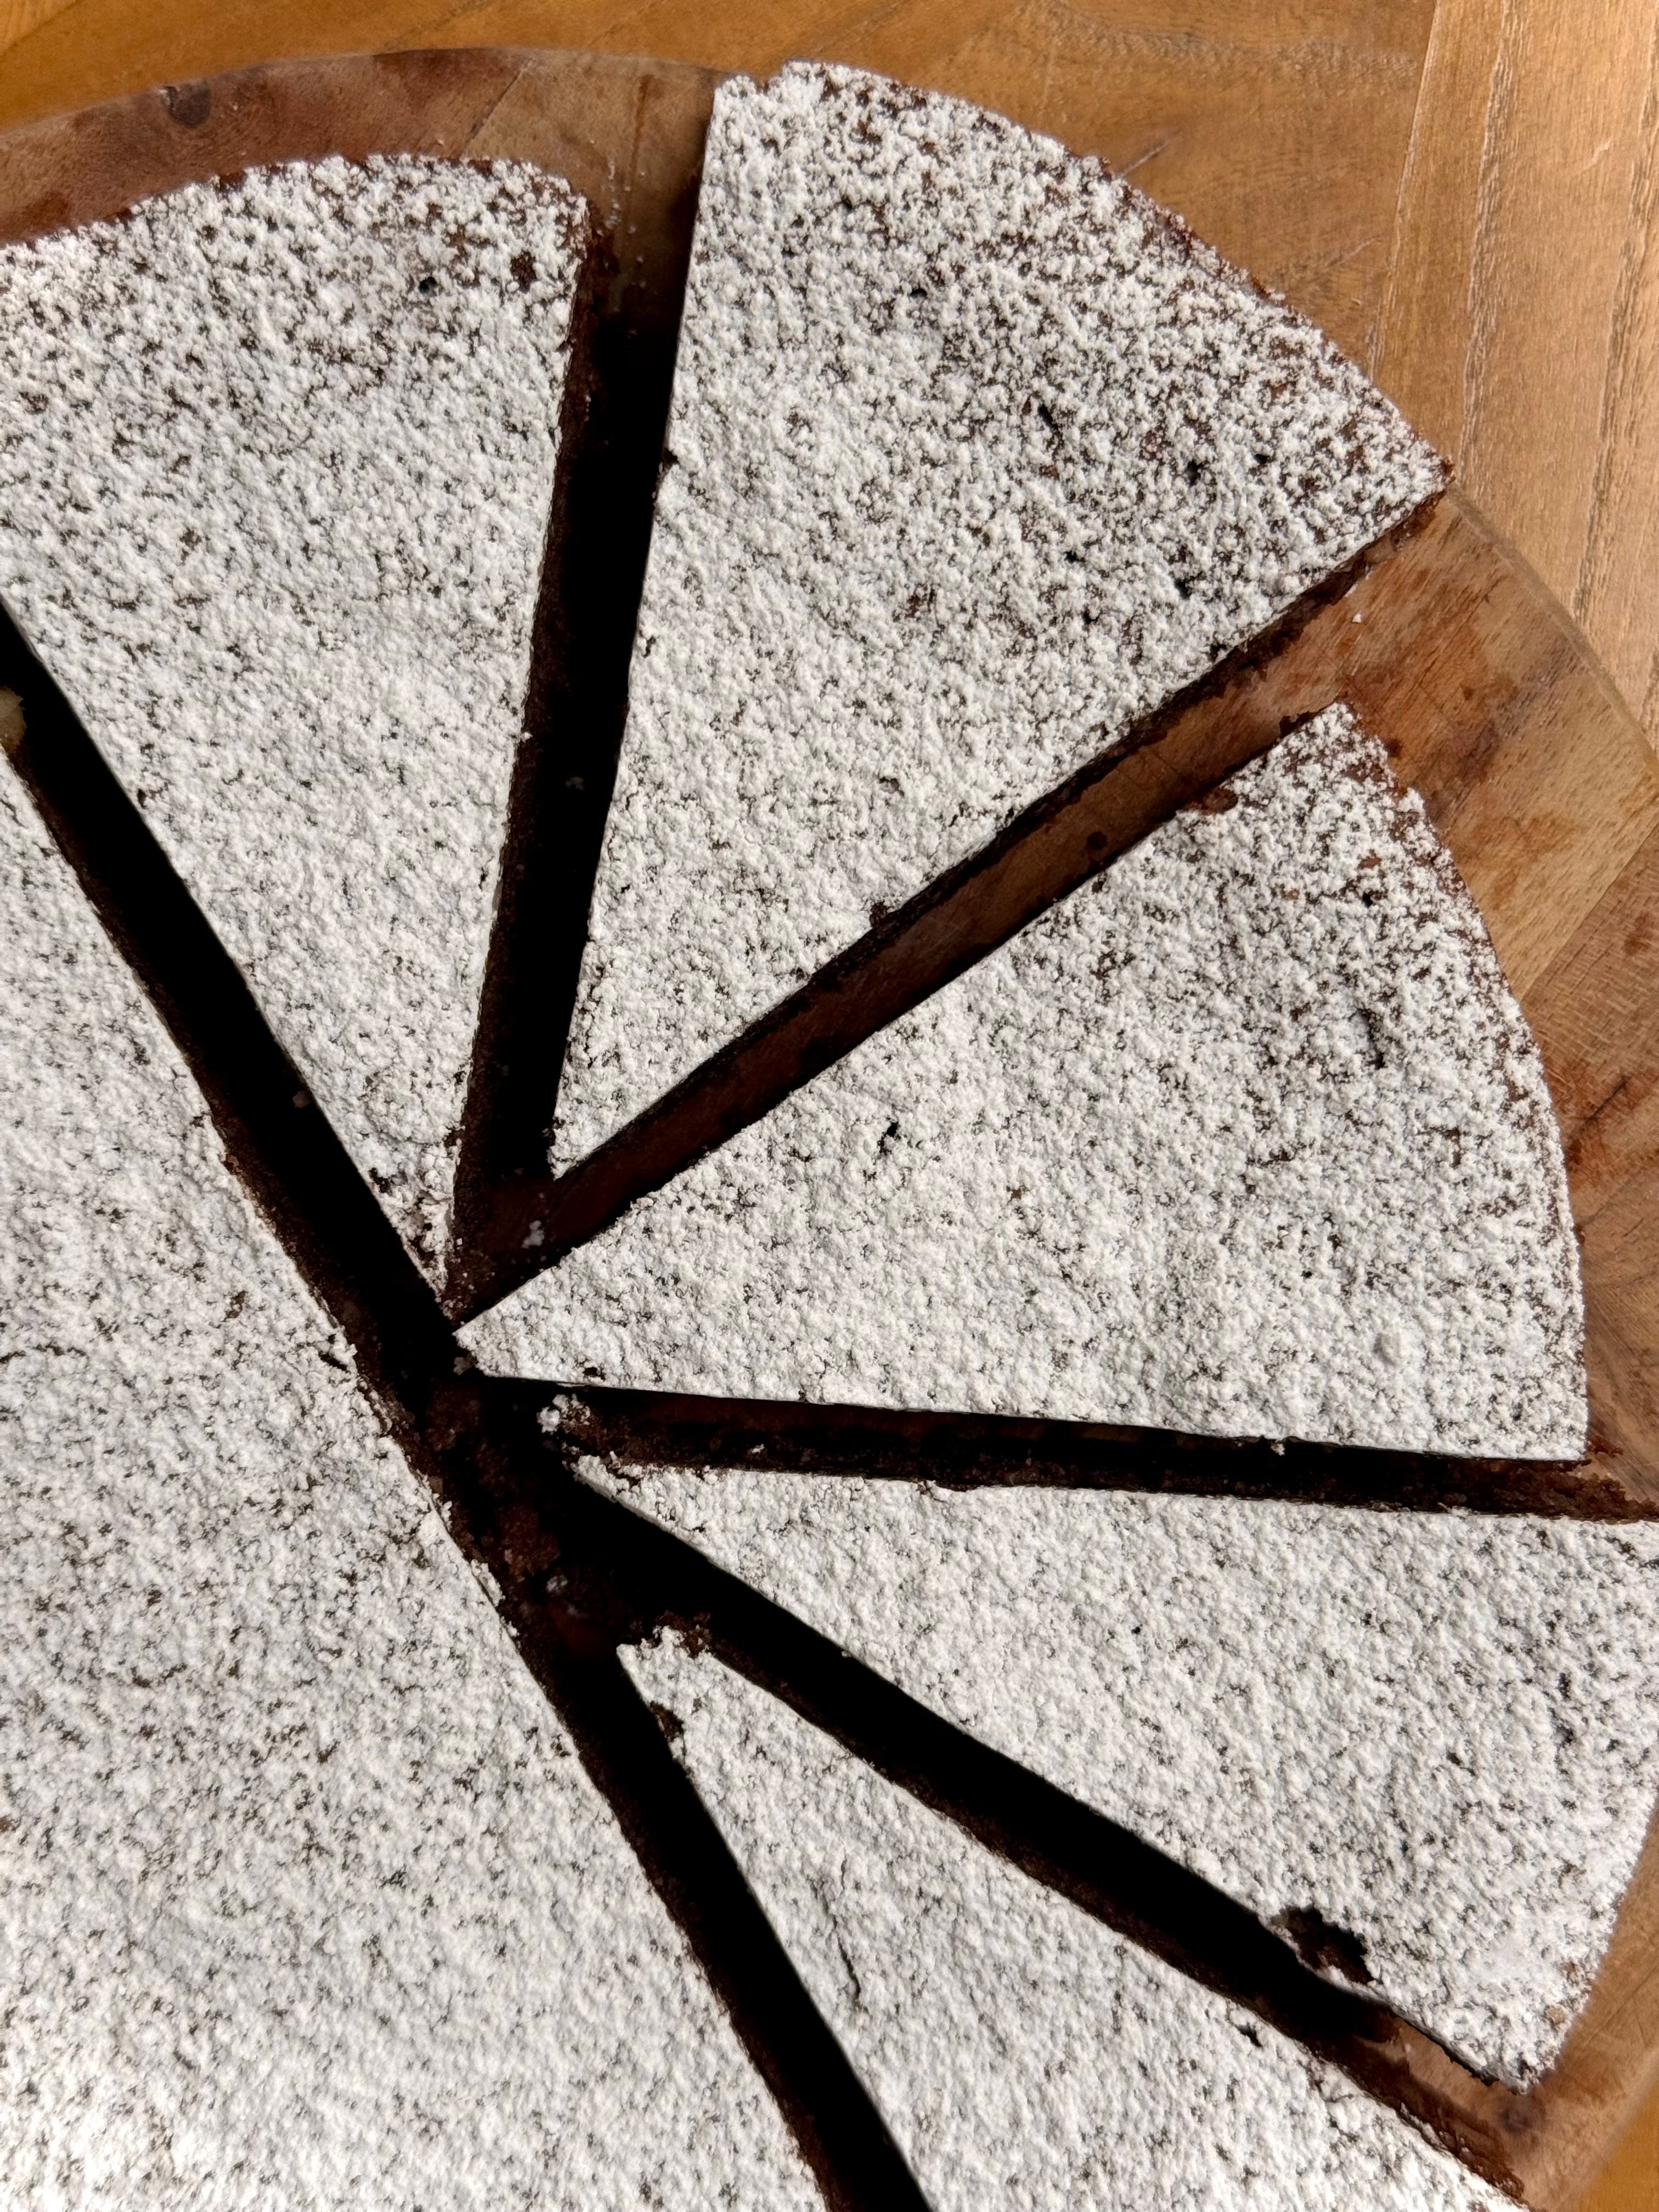
In at number thirteen, we head back over to Italy for a slice of sweet, fudgy, nice with their Torta Caprese. Decadent, rich and incredibly moist, this one is very similar to the Torta Tenerina but between the two, I’d choose this one hands down. Needing only a handful of ingredients, simplicity seems to be king when it comes to the last stages of this cake list and as a girl who lives for the drama and everything extra - it’s a real lesson in sometimes less is more (snore snore).
Incredibly easy to make and super quick to bake, this is one that would make a great addition to your baking roster, especially with Mother’s Day and Easter on the horizon. In addition to all that fun, it is also gluten free, meaning yum for most tums.


I saw a lot of recipes online adding extra bits and bobs including a splash of alcohol but here, I kept it simple, adding only a few tweaks (the espresso powder mostly just to enhance the depth of chocolate flavour) and found using whole blanched almonds blitzed down till ground gave a better texture than the pre-done sort but will work either way, if needed. After the mild outrage caused on Instagram for adding vanilla to the Portuguese cake, you can bet your bottom dollar that a lesson to not add any extra jazz was well and truly learnt.
Will I be making this one again? 100% yes. But next time, I’ll make sure to serve it up topped with a fruity compote to help cut the richness.
Recipe Makes: 1 x 20 cm / 8 inch cake tin with removable base/springform
Recipe Serves: 9
Y O U – W I L L – N E E D -
150 g Dark Chocolate, callets/chunks
115 g Unsalted Butter, diced
100 g Light Brown Sugar (can sub for caster sugar)
3 Large Eggs, separated
185 g Ground Almonds
¼ tsp Espresso Powder, optional
Pinch of Sea Salt
M E T H O D –
Preheat the oven to 140C Fan/160C/325F and grease and line a 20 cm/8 inch loose bottomed/springform tin.
If you have an induction hob, add the chocolate and butter to a pan and place over a medium heat, stirring little and often until melted. If you have a gas hob, place the chocolate and butter into a heatproof bowl and place over a pan filled with simmering water. Ensure the base of the bowl doesn’t touch the water, mix the chocolate and butter until melted. Leave to one side to cool.
In a stand mixer bowl, add the sugar and egg yolks. Use the paddle attachment to mix on a medium speed for 4 minutes until the yolks are lighter in colour and thickened.
If you are using whole blanched almonds, add to a food processor and pulse until ground. Go low and slow to avoid the almonds releasing their oil.
Add the chocolate, ground almonds, salt and espresso powder (if using) to the yolks and mix well until combined.
In another mixer bowl. add the egg whites and cream of tartar. Using the whisk attachment, mix on a medium speed until the whites reach stiff peak.
In thirds, add the egg whites to the yolk bowl and gently fold through, using a rubber spatula - make sure you scrape the sides and base of the bowl to ensure everything is incorporated.
Add the batter to your lined tin. Use the back of a spoon to level out the batter and place into the oven. Bake for 32 to 35 minutes, until the top is set and the sides of the cake starts to come away from the tin. Do not be tempted to overbake!
Allow the cake to sit in the tin for 15 minutes before covering the top with clingfilm to lock in the moisture. Leave to completely cool.
Once cool, remove from the tin and use a hot knife to slice. Serve alongside some lightly sweetened whipped cream and fruit.
If you are UK based, please accept this as your formal warning that Mother’s Day is THIS SUNDAY. If you’re on top of things have got everything sorted for that day, bravo to you my goody two shoes but for anyone where this may have slipped your mind or you still have yet to get your Mum anything, the next few bakes are here to offer up a variation on the standard chocolate and flowers offering.
Yes, they are both nice, but you know what is even nicer?
CAKE.
BAKED GOODS.
FILTHY DELICIOUS STUFF.
BUTTERY BITS OF BRILLIANCE.
And as a real acts of service sort of person, baking and cooking is my number one way of showing people how much I love and care for them. So, the next three recipes are all what I consider to be brilliant options for this Sunday. One easy, one mid level and then finally, a glorious showstopper worth every second of effort.
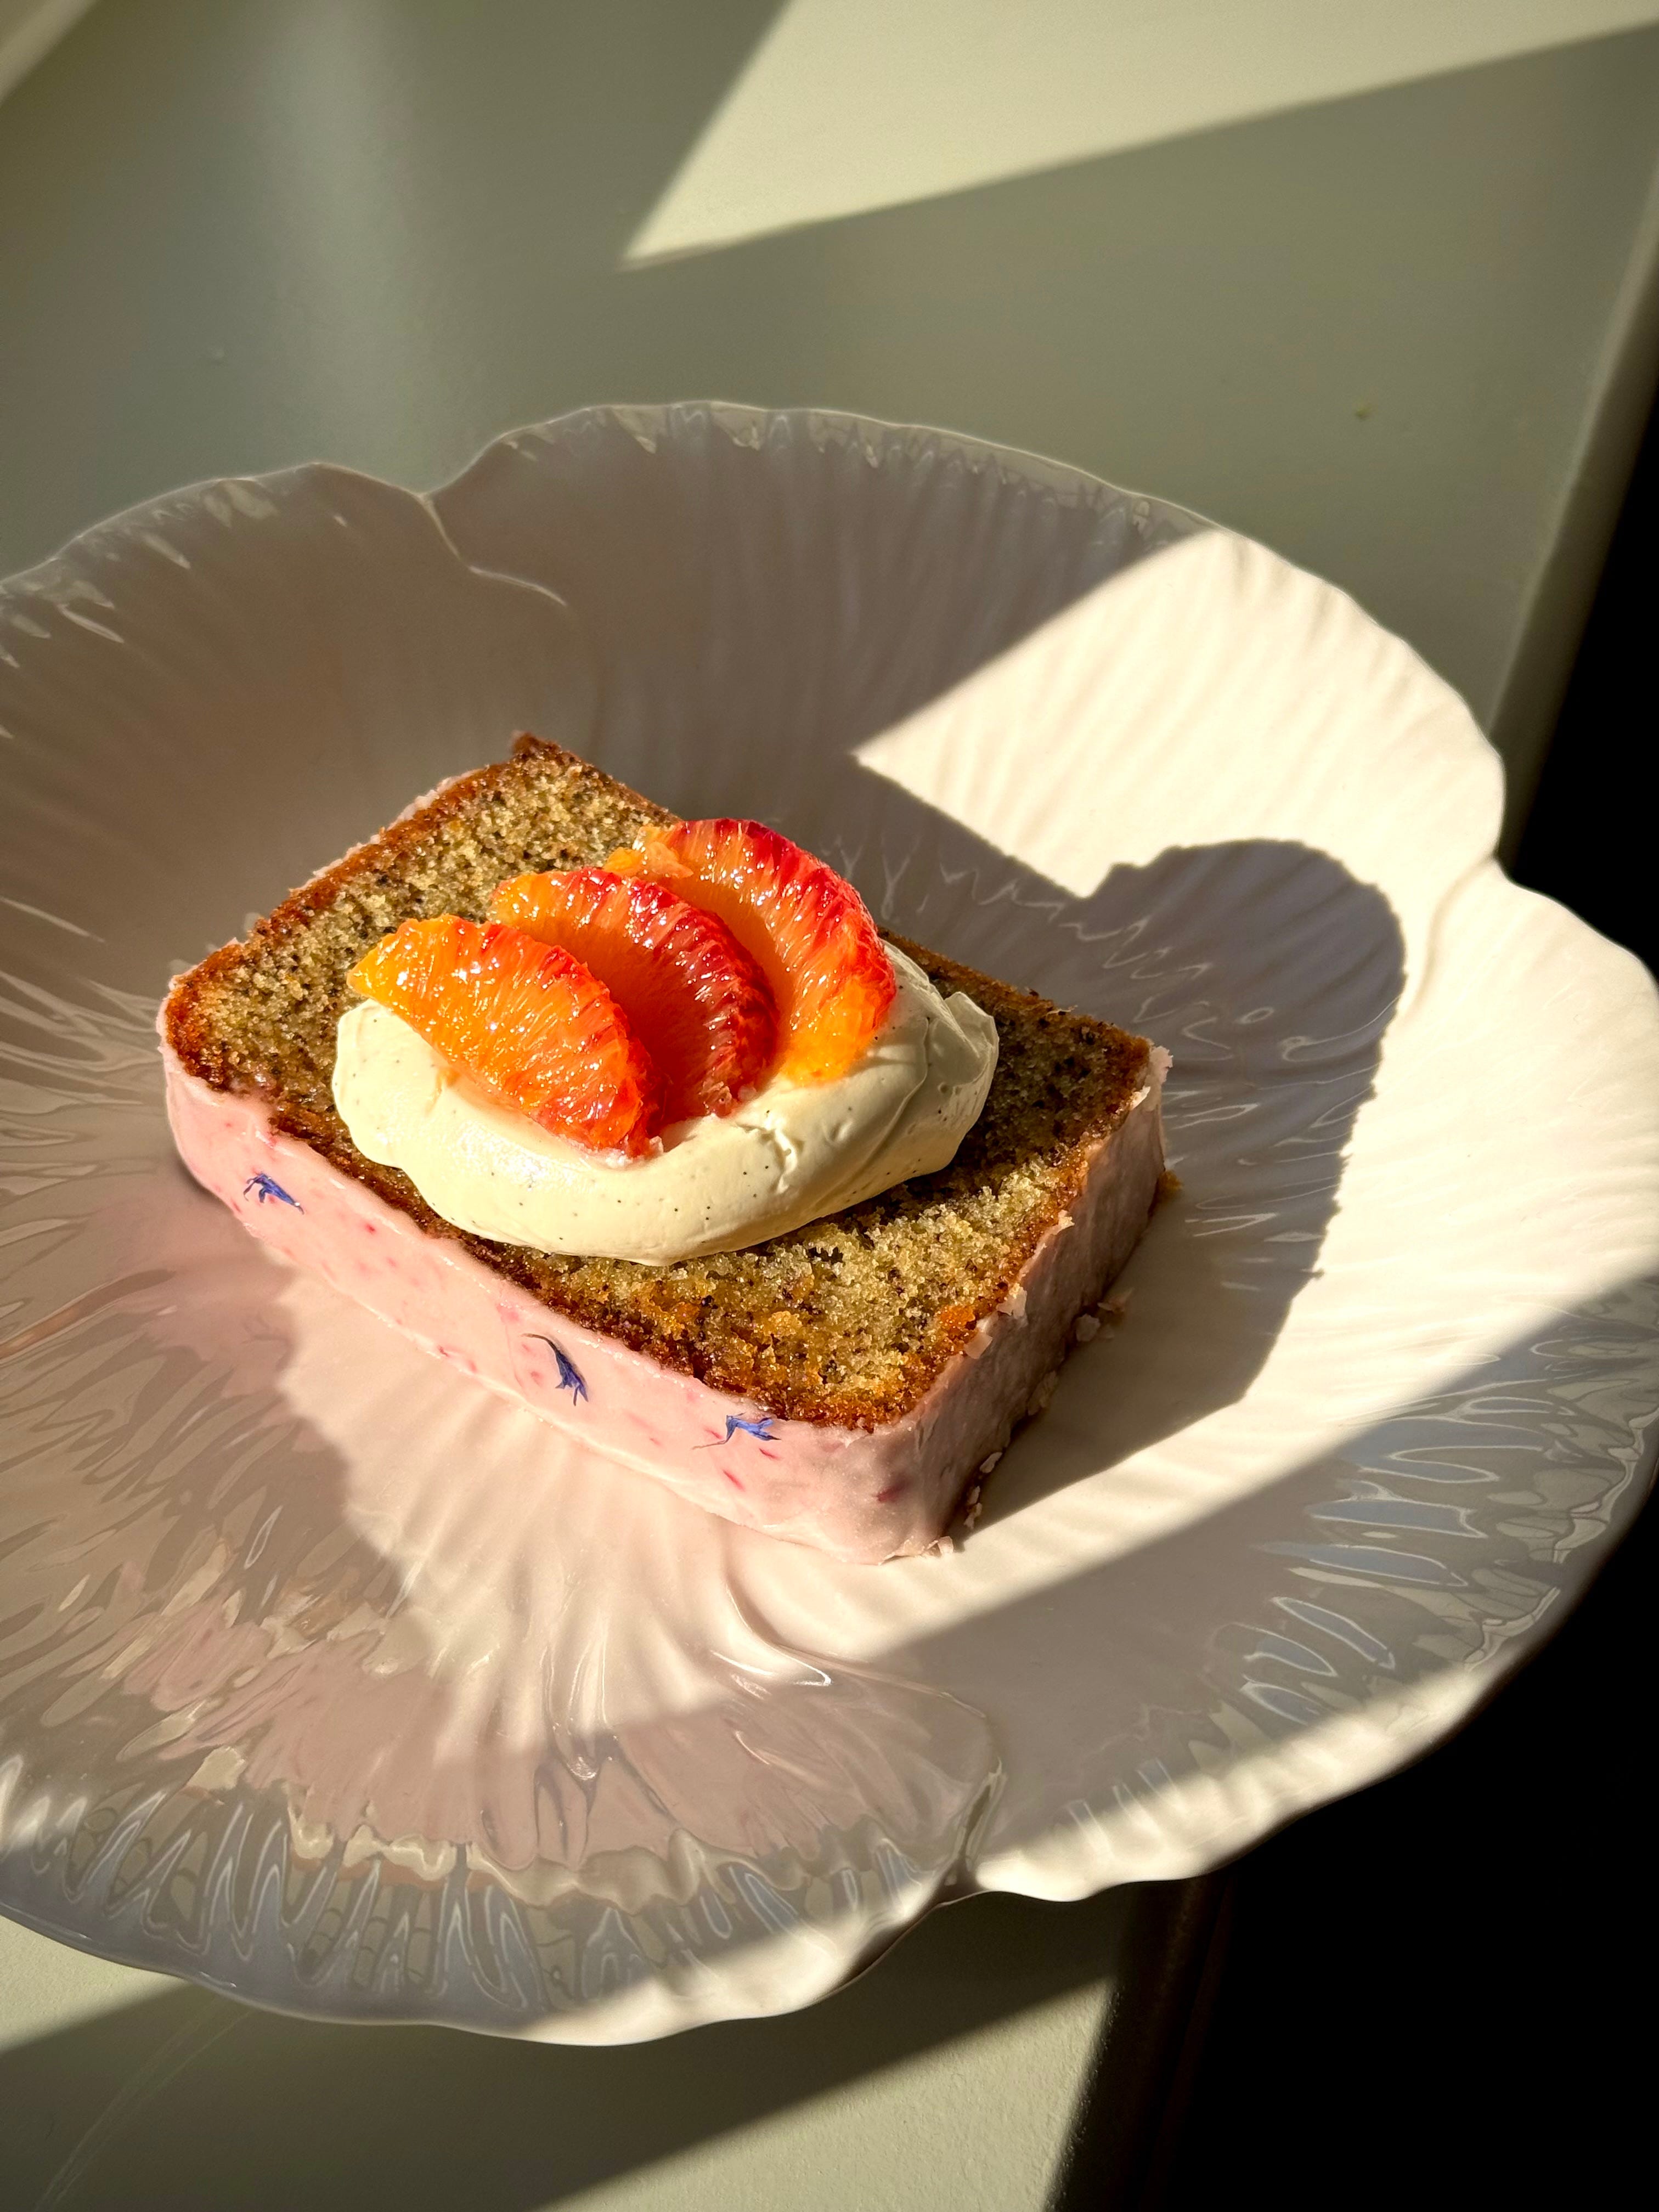
First up, we have my Earl Grey & Blood Orange Loaf. Not only does she look painfully and effortlessly pretty, but she is also a tasty little morsel with lots of feedback from some of you who have already made it – including one person who has already made it 3 times since last week?? If that isn’t an endorsement for how good this cake is, I don’t what what is. If you are also said person, please know I am obsessed with your dedication to food hyper fixation. A gal after my own heart.
Making the most of blood oranges (also called blush oranges in some shops) whilst they are still in season, teamed with the citrussy floral notes of earl grey and finished in a blood orange water icing glaze. It looks the most, whilst you do the least - which is my kind of maths. It’s a zesty, punchy, moreishly moist, painfully perfect loaf cake.


She’s simple, effortless and so easy to make. If earl grey doesn’t float your boat, you leave it out or if you want something more classic, switch out the oranges for lemons or any other citrus fruit. On its own, it’s a solid drizzle cake recipe but with all the other additional bits, she’s a delicious slice of nice.
I know adding tea leaves to a cake batter may not be common practice or may seem like an odd thing to do, but I assure you texturally it’s almost unnoticeable – similar to poppy seed. They are there but also not stealing the show ya know. The earl grey offers up a brilliant warming, slightly floral contrast to an otherwise tart and citrussy loaf. It’s one you can make a few days ahead of time or make, bake, eat and repeat on the same day.


This is sophisticated yum and then some.
Recipe Makes: 1 x 2lb loaf tin
Recipe Serves: 9 slices
Y O U – W I L L – N E E D –
Sponge
175 g Caster Sugar
75 g Light Brown Sugar
20 g Blood Orange Zest (approx. 3 large oranges)
2 Earl Grey Tea Bags
3 Large Eggs
100 ml Double Cream, room temp
30 ml Unsalted Butter, melted
160 g Plain Flour, sifted
25 g Potato Starch, sifted (can sub for plain flour)
1 tsp Baking Powder, sifted
¼ tsp Bicarbonate of Soda
0.5 tsp Sea Salt
70ml Neutral Oil
60 ml Blood Orange Juice, fresh
Soaking Syrup
50 ml Blood Orange Juice
50 ml Water
70 g Caster Sugar
1 Earl Grey Tea Bag
Blood Orange Glaze
200 g Icing Sugar
35 to 40 ml Blood Orange Juice
Zest of 1 Blood Orange
M E T H O D –
Preheat the oven to 160C (no fan)/320F/Gas Mark 3 and grease and flour a 2lb loaf tin.
For the sponge, add the caster sugar, light brown sugar, orange zest and the tea leaves from the earl grey tea bags to a mixer bowl. Use the paddle attachment to mix for 3 to 4 minutes to release the oils in the zest.
Add in the eggs, mixing well between each addition until aerated and doubled in volume – you want to give this about 5 minutes on a medium to high speed.
Pour in the double cream and melted butter and mix until just combined.
In a separate bowl, add your flours, baking powder, bicarb and salt. Give that a mix with a balloon whisk before adding half of it to the mixer bowl.
Use a balloon whisk to lightly mix and combine before going in with the remaining half. Once there are little to no flour streaks visible, pour in the orange juice and oil.
Mix lightly before pouring into your floured tin. Pipe (or thinly slice) a line of butter in the middle (helps to control any cracks) before popping into the oven on the middle shelf for 50 to 55 minutes.
Whilst the sponge is baking, make the syrup by adding everything to a pan (keep the tea leaves in the bag this time), placing it over a medium heat and giving it all a mix. Bring to the boil, before turning down the heat a notch and allowing the syrup to simmer for 5 minutes. Once lightly thickened, remove and leave to cool.
Once the sponge has baked, remove from the oven and allow it to sit in the tin for 5 minutes.
Carefully remove from the tin onto a cooling rack. a pastry brush to liberally brush over the syrup over the top and sides. Wrap the loaf in the clingfilm and leave to cool at room temp.
Once cool, make the water icing glaze by mixing the icing sugar and juice. You want a thick pourable consistency. If it is too loose, add a tbsp of icing sugar at a time to lightly thicken. If too thick to pour, add 1 tsp of juice at a time until you reach the desired thickness.
Transfer the cooled loaf to a cooling rack with a tray placed underneath. Pour the icing over the top, using a palette knife to gently coax over the edges. Allow it to glaze all the sides. Leave to set for at least 1 hour before using a warm knife to slice.
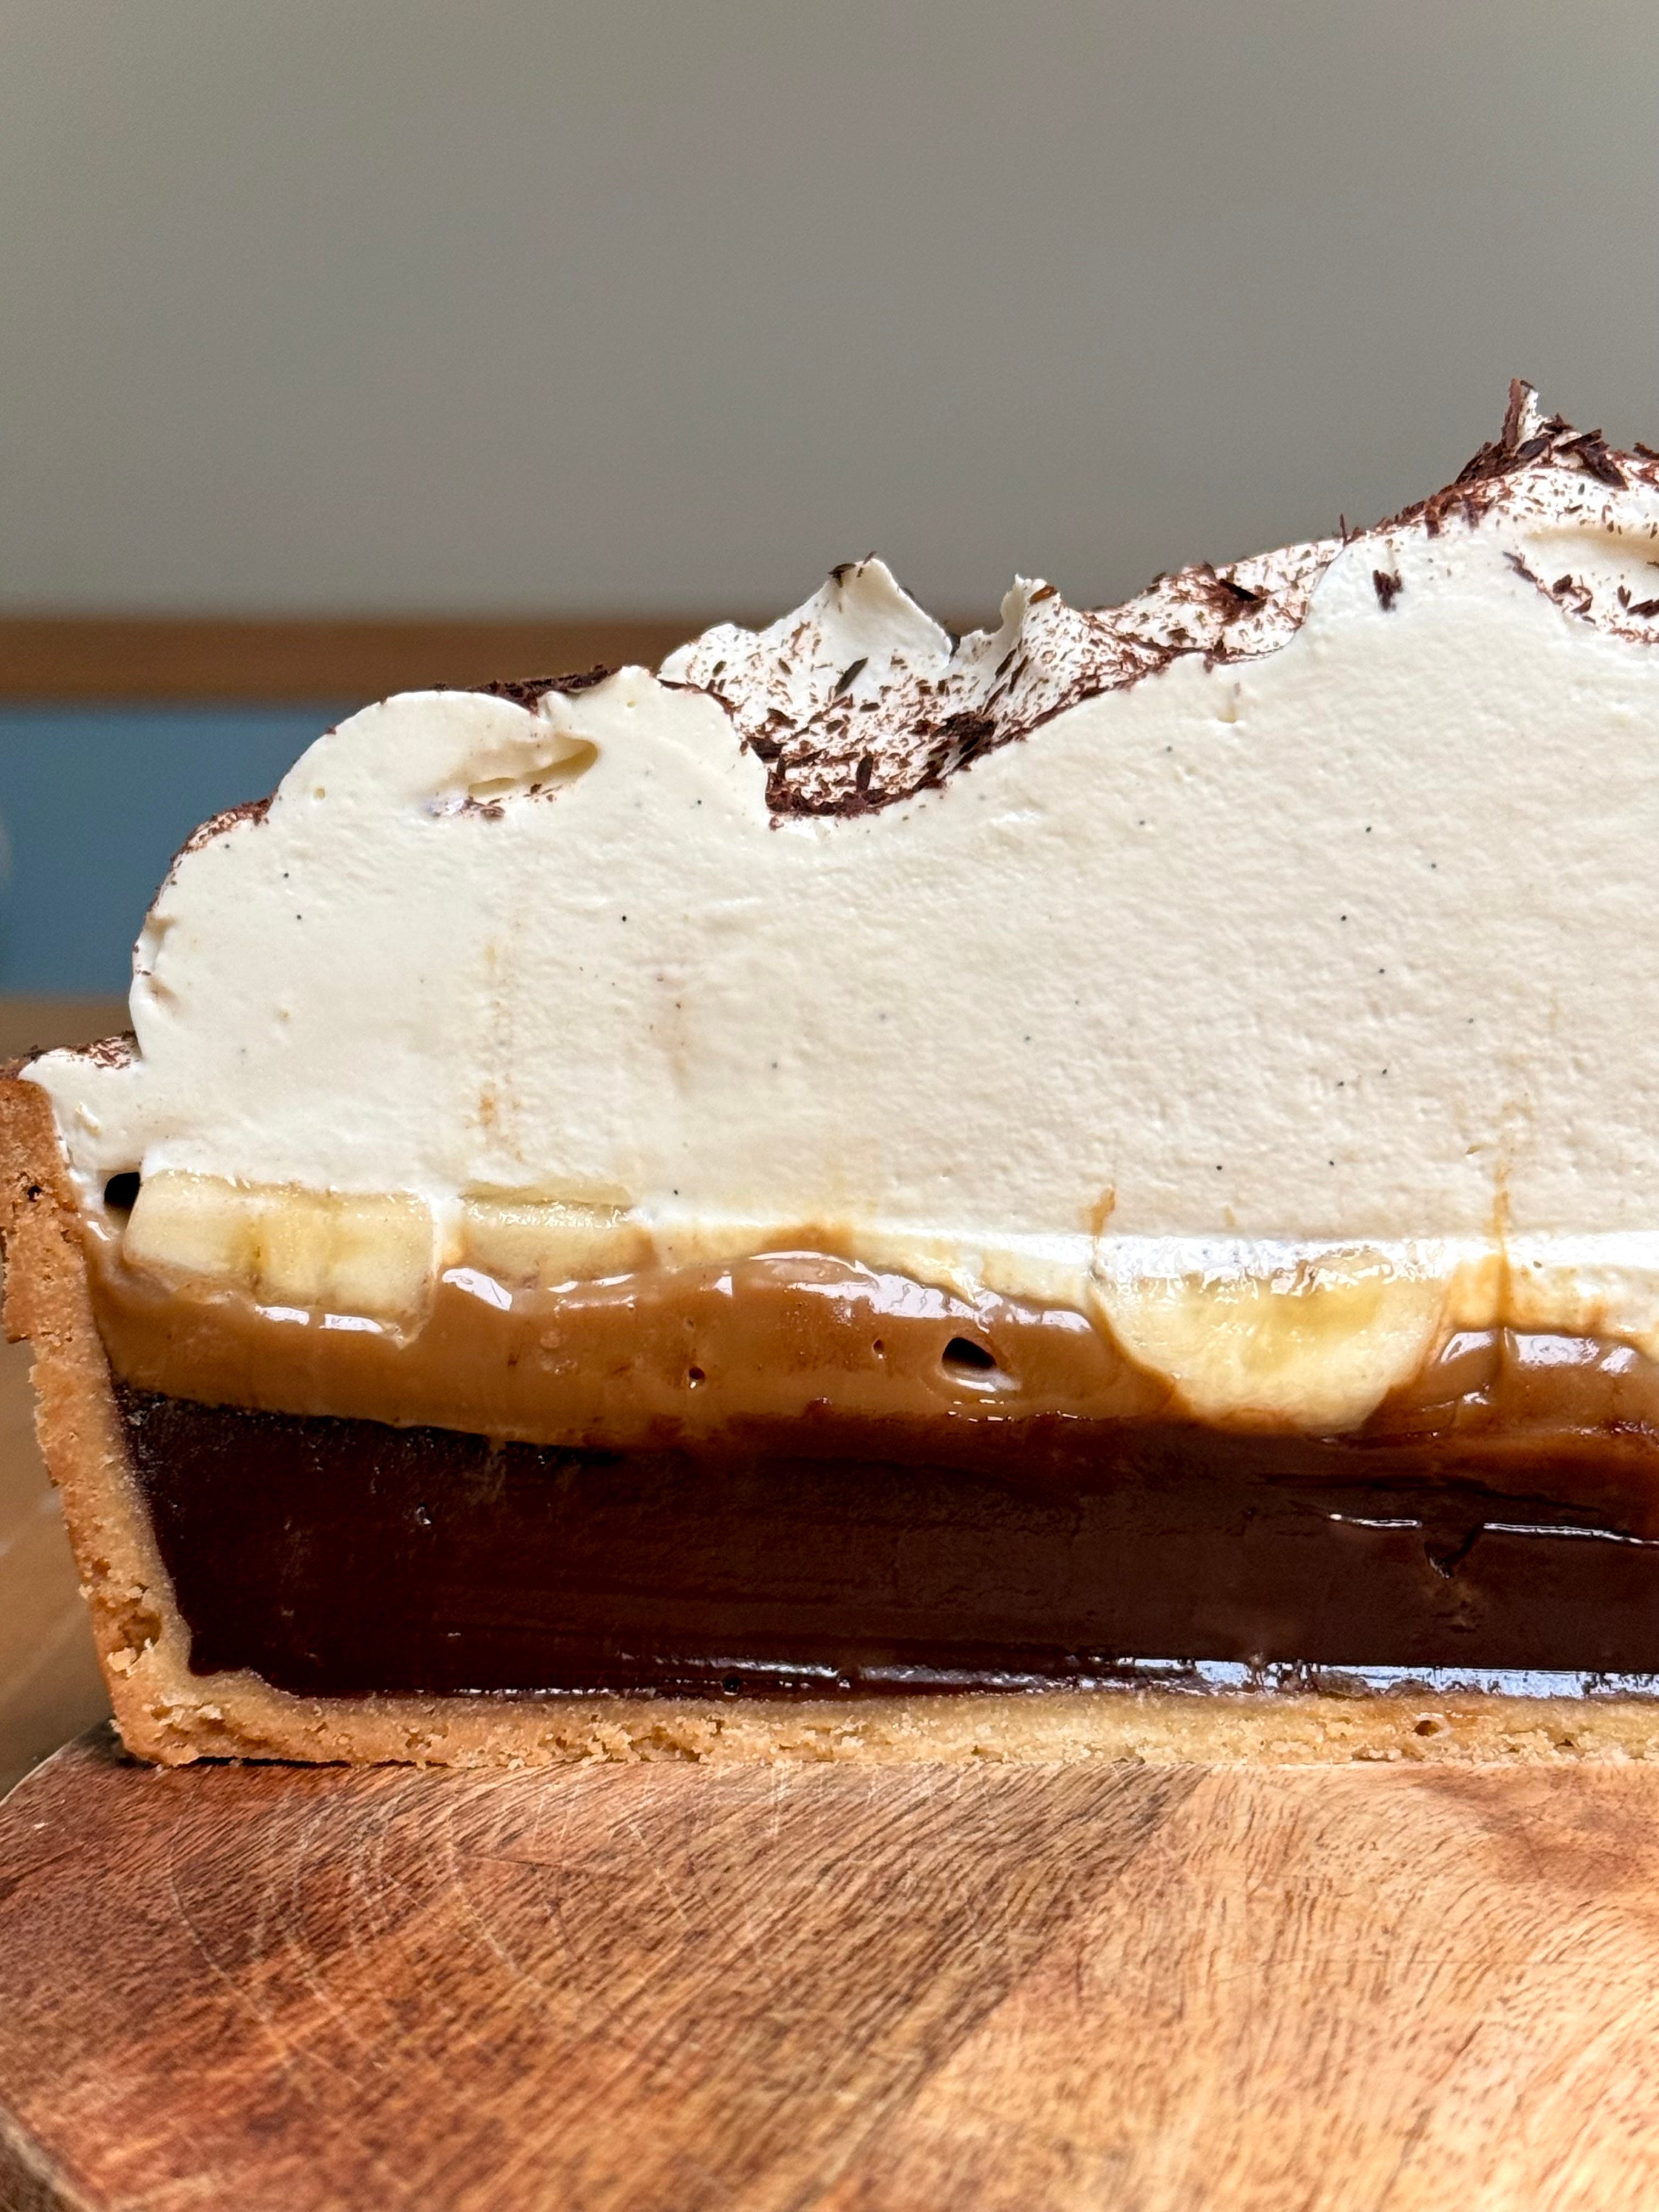
Moving onto what I think is one of the tastiest bites I have made this year so far (slight lie as I first made this back at Christmas but was too marginally depressed at the time to share lols – gotta laugh am I right) with my Chocolate Banoffee Pie.
It feels like it’s been a while since I’ve dropped a bit of chocolatey filth over here on the newsy, so to right some wrongs, here’s a little something to make those hearts race a little bit faster. It’s indulgent, rich, annoyingly delicious and so easy to make - it’s the sort of pudding that’ll have you head in the fridge, fork in hand, stealing mouthfuls of it whenever you get the chance because ya know - one more bite won’t hurt.
Made up of a buttery crisp, melt in the mouth sweet pastry, topped with an indulgent layer of baked dark chocolate filling, an obscenely necessary amount of dulce de leche, lots of ripened banana and finished with a mountain of vanilla bean spiked chantilly and a generous drizzling of shaved chocolate to wrap it all up.


Yes, it’s a notch above your standard banoffee in terms of effort but I promise you, it is SO worth it. That combo of banana, chocolate and dulce de leche is just unmatched. The below makes slightly more pastry than you need but leftovers keep well in the freezer for up to 3 months.
Recipe Makes: 1 x 25 cm / 10 inch deep (at least 2 inches) tart tin with removable base
Recipe Serves: 9 generous slices
Y O U – W I L L – N E E D -
Dulce de Leche
2 x 397 g Tinned Condensed Milk
Dough
250 g Unsalted Butter, room temp
100g Caster Sugar
100 g Whole Eggs (approx. 2 large eggs)
Pinch of Salt
410g ‘00’ Flour, sifted (can sub for Plain)
1.5 tsp Vanilla Bean Paste
Chocolate Layer
320 g Dark Chocolate
300 g Unsalted Butter, diced
150 ml Whole Egg, beaten
120 ml Egg Yolk, beaten
90 g Caster Sugar
Pinch of Sea Salt
To Finish
3 Large Bananas, ripe
800 ml Double Cream
60 g Icing Sugar, sifted
1.5 tsp Vanilla Bean Paste
Bar of Dark Chocolate, to grate
M E T H O D -
The night before, make the dulce de leche. You can skip this by using tinned caramel but I promise, the flavour is so much better this way. Place the tins into a large pan and fill with enough water to completely submerge.
Place over a medium heat and bring to a boil. Reduce the heat, place the lid on and continue simmering for 2.45 hours, topping up the water when needed.
Once done, remove from the heat, drain the water and allow the tins to completely cool.
For the pastry, add the butters and sugar to a bowl and creaming together until light and fluffy – this will take at least 5 minutes on a medium speed using a stand mixer.
Add in the beaten eggs (keep as close as possible to 100 g to avoid making the dough too wet) and mix until everything is fully emulsified.
In a separate bowl, add the salt, flour and ground cardamom. Mix well to integrate all the ingredients before transferring to the mixer bow, along with the vanilla bean paste.
Mix until all the ingredients have come together, and you are left with no visible streaks of flour.
Lay out some clingfilm on your worktop, dust with flour and scoop out the dough. Press down and shape the dough into a rough disc and flatten with your hands before wrapping tightly in clingfilm and popping in your fridge to sit for about 30 to 45 mins.
Once the dough has chilled, lay down a silicon mat on your worktop and dust liberally with plain flour.
Roll out the pastry to approx. 3mm thick and carefully transfer to your tart tin (no need to grease). Gently nestle in and use a scrap bit of pastry dusted in flour to help you press into the nooks and crannies (don’t use your fingertips as the pressure will be too much and your nails will inevitably catch on the pastry).
Trim any excess pastry off the sides (reserve all scraps and pop into the fridge for 1 week or in the freezer for up to 3 months), use a fork to dock the pastry base (basically lightly poke some holes in) and place the lined tart tin into the freezer for at least 1 hour. Super important this is frozen through before baking to minimize pastry shrinkage.
Preheat your oven to 180C Fan/200C/390F.
Once frozen, crumple up some baking paper and sit in your frozen tart case. You want to ensure the baking paper covers all bottom and sides. Pour in your baking beans (or dried rice/pasta) and place in the oven for 25 minutes.
Remove from the oven and carefully remove the baking beans and baking paper. Pop the tart case back in the oven for a further 10 minutes until the base begins to turn golden.
Once baked, remove from the oven and reduce the heat to 135C/275F/Gas Mark 1.
For the chocolate filling, melt the chocolate and butter together in a bowl over a pan of hot water, taking care that the bowl does not touch the water. If you have a fancy pan and induction hob, you can do this straight in a pan. Mix until smooth before taking off the heat.
In a separate bowl, whisk the whole eggs, egg yolks and sugar with a balloon whisk until combined.
Slowly pour the whisked egg mix into the chocolate, stirring continuously to combine until thickened and silky smooth.
Carefully pour the chocolate mix into the baked tart case and bake for 28 to 30 minutes. You are after the top to be set to the touch but with a bit of jiggle jiggle left. Don’t think this is underbaked, I promise you, it will set once completely cooled.
Once cool, remove the dulce de leche from the tins and mix until smooth. Transfer to a piping bag.
Pipe the dulce de leche over the set cooled chocolate filling. Use a palette knife to smooth down. Place into the fridge for 30 minutes.
Before serving, slice the ripe bananas into thick coins before placing on top to cover. Do not do this ahead of time as the bananas will begin to brown. If you wish to make ahead of time, toss the bananas with a pinch of sugar and a good squeeze of lemon juice.
Make the whipped cream topping by adding the double cream, icing sugar and vanilla to a mixing bowl. Use the whisk attachment to mix until it reaches medium peak.
Either pipe or dollop the cream on top of the bananas, building up in the middle to create a mound.
Serve as is, or finish with a grating of chocolate.


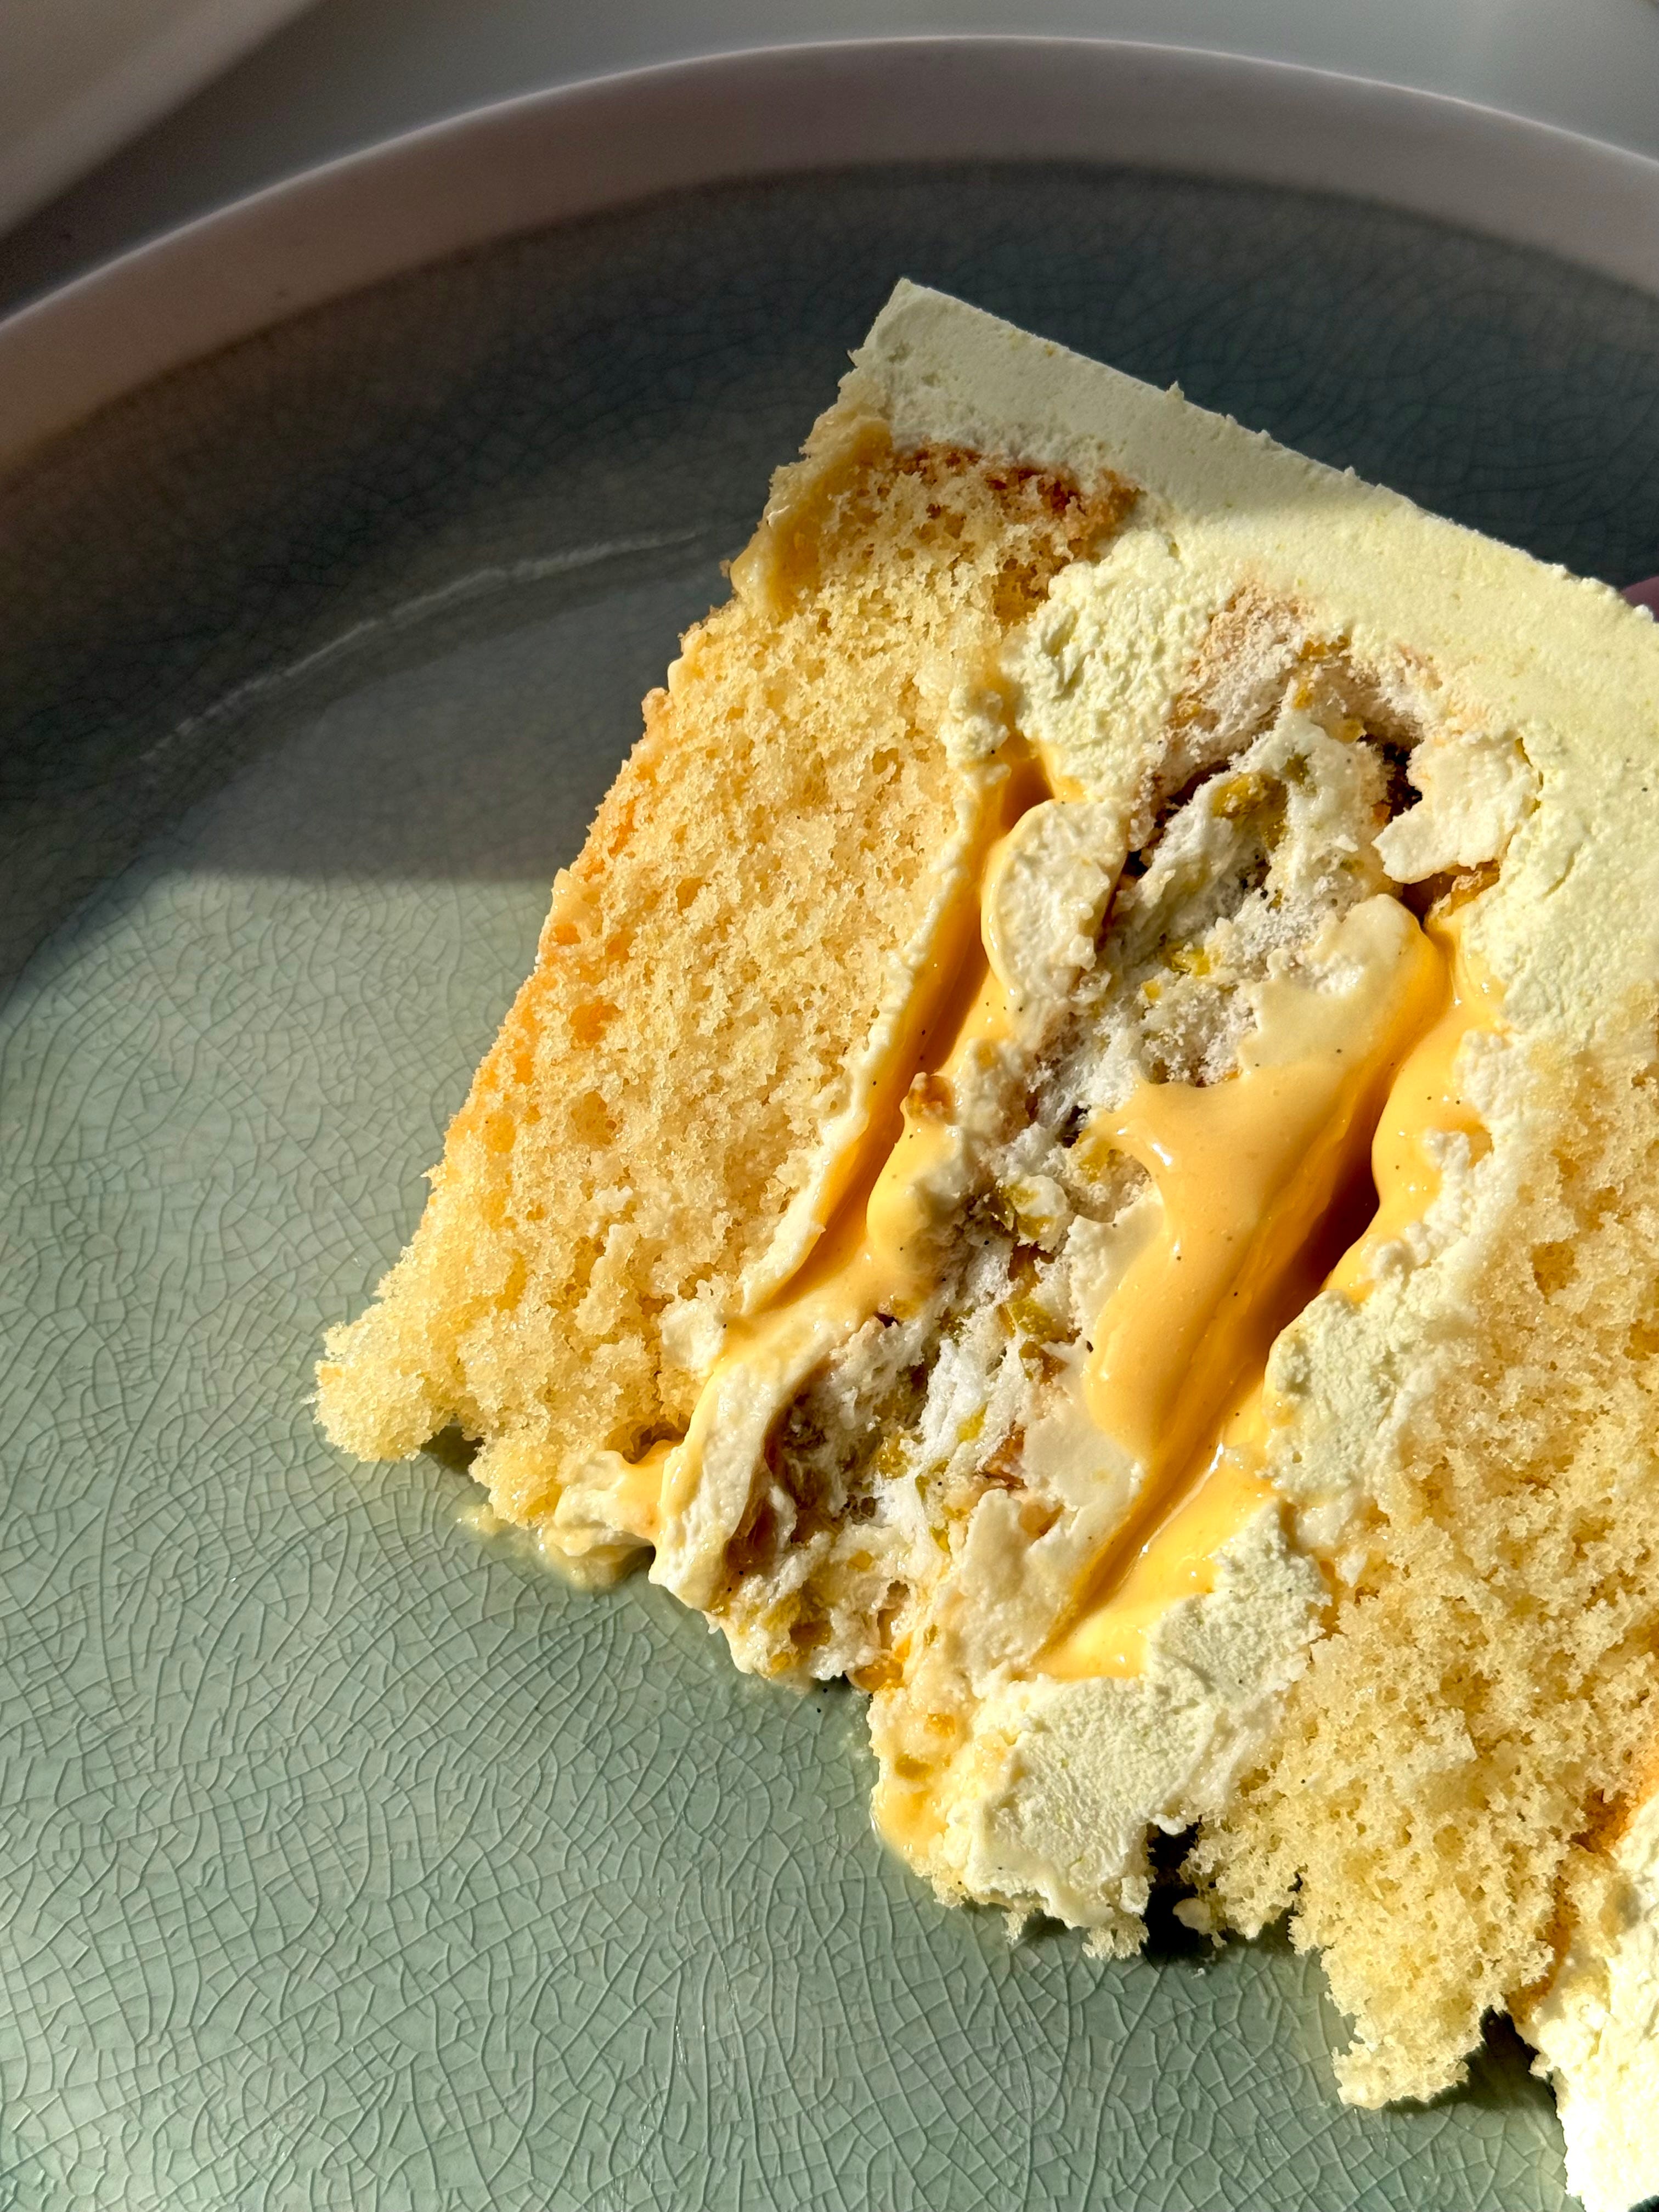
And then finally, we get to the main bake of the day, my Lemon, Pistachio & Cardamom Meringue Cake. Just a pretty little thing in time for Spring – teaming with bright, zesty flavours and a subtle warmth, all wrapped up in a velvety smooth pistachio buttercream. Adorned with food safe flowers on top, a slice of this reminds me of nothing but blue skies on a spring morning. Making it the perfect cake to make for Mother’s Day this weekend.

Made up of 2 super light, heavily lemon spiked genoise sponges, soaked in a lemon sugar syrup, topped with a lemon whipped mascarpone, lemon and cardamom custard, a hidden layer of crisp, crunchy pistachio meringue and finished with a hearty smothering of a swiss meringue buttercream flavoured with a homemade pistachio cream.
If you enjoy a lemon drizzle or any sort of citrus cake – this is your gal. Best made over a stretch of 2 days to give the meringue layer enough time to bake and cool, this cake NEEDS to have time to marinate and, in the fridge, overnight to allow the tender genoise to settle and soak up the flavours.
When it comes to cakes here, I tend to keep it quite heavy on the butter sort or chiffon based sponges so wanted to expand the repertoire by sharing a different style. A genoise is known for its slightly drier texture which means it NEEDS a soaking syrup of some kind but it is incredibly easy and simple to make, and even quicker to bake and cool down – so for a cake with a number of components like this one, a simple foundation is welcomed.
A little goes a long way with this cake and whilst I have added an extra element with the pistachio meringue layer, this is also a recipe which can be simplified easily, without having to compromise on the flavour. Skip the meringue layer and go for a traditional sandwich cake style, with a good generous custard filling and mix the homemade pistachio cream with a whipped mascarpone instead of the SMBC for something you can whip up in a matter of hours.


Yes, she looks high maintenance, but she can also be low key if needs be.
Recipe Makes: 2 x 20 cm /8 inch tins
Recipe Serves: At least 12
